You know those glass gems they sell in bags at craft stores (even the dollar store, where I found mine). They come in all sorts of colors and look neat, but I never know what to do with them other then use them in a bottom of a vase or fishbowl. In high school I painted the backs of the clear ones and used them as cool looking tacks for hanging pictures/posters, but after a short while the paint would peal and the tacks would fall off. I was sort of sad because they did look really neat so when I saw the bigger sized ones at the dollar store I had a great idea. I figured these would be big enough to see pictures through if I printed them small enough. So I set to work coming up with some ideas.
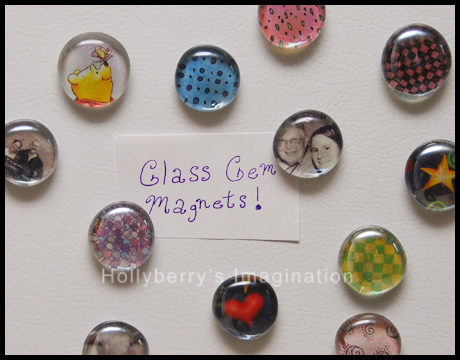
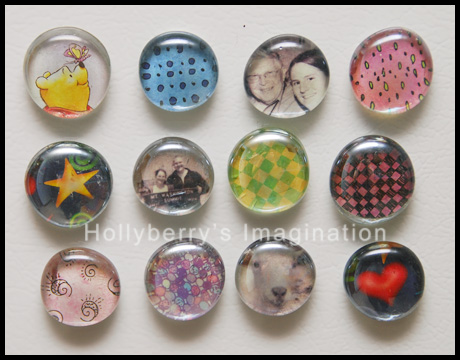
This is what I came up with!
Glass Gem Magnets
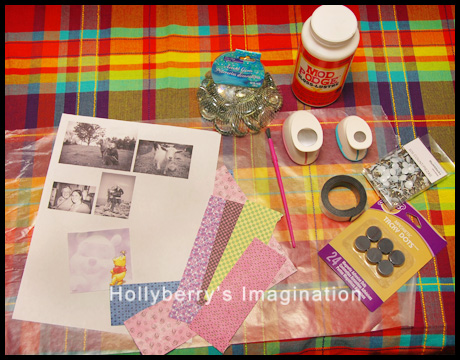
Supplies: larger glass gems with one side flat (just over an inch in diameter), small pictures printed on regular paper or some pretty scrapbook paper, circle punch (or scissors), magnets (you could try tacks on smaller gems), super glue (optional), modge podge, and a small paint brush.
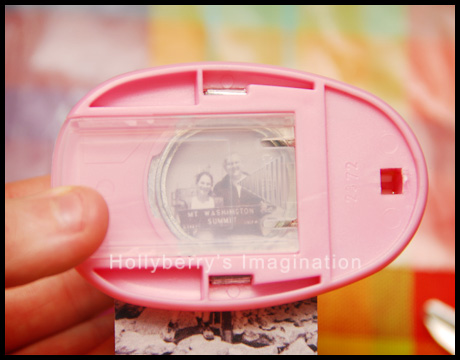
The punch I used was for a 1″ circle which fit perfectly on my gems flat sides. I flipped the punch over so I could choose where the picture or design would cut. If you don’t have a punch, simply trace out your gem on the paper and cut it out slightly smaller.
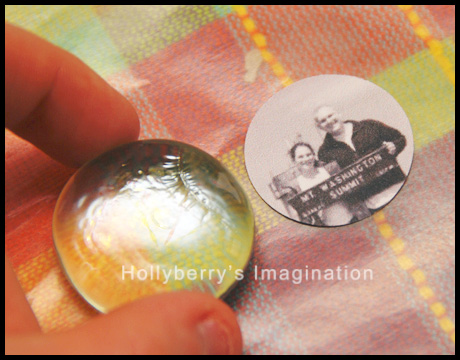
Be careful with the gems that have scratches or cracks on them. Test them over your pictures first to see if it will show up at all. I found cracks like the one above were very noticeable. Luckily there were only a few like that, so i just set them aside.
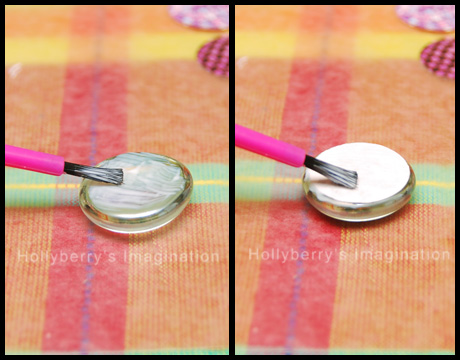
Once all your pictures or designs are all punched (or cut) out, it is time to get out the modge podge! First I painted a little on the gem’s flat side and then carefully placed the pictures face down on it. Smooth it out a little so there are no wrinkles or bubbles. Then for a little extra security I painted some more modge podge over the back of the pictures going slightly over the edges. Let them dry for about 15 minutes or so.
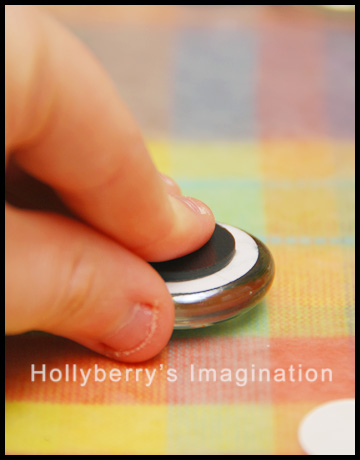
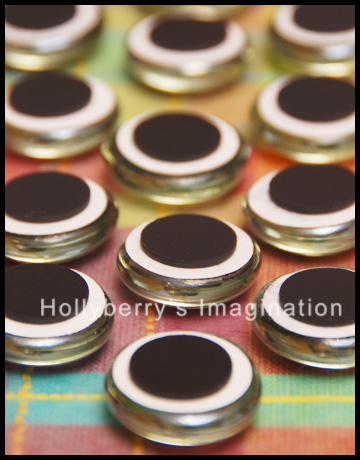
To adhere the magnets I used super glue. The magnets were the kind with adhesive on the back, but again I like to make sure everything is secure and not going to fall off in a few days. So hold a little pressure on each magnet for about 30 seconds.
Even though they dry fast I like to let sit for a few minutes before testing them out on the fridge.
That’s it! You now have a cute little collection of magnets to give away as gifts, or display masterpieces of the fridge!
-Holly

Awesome!
Thanks!