Business Card Wallet

wallet-13

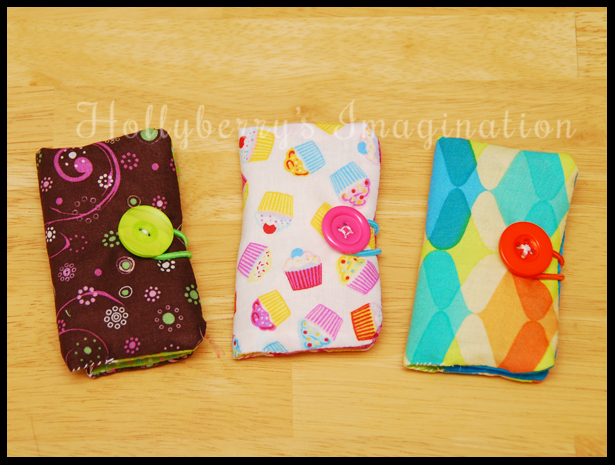
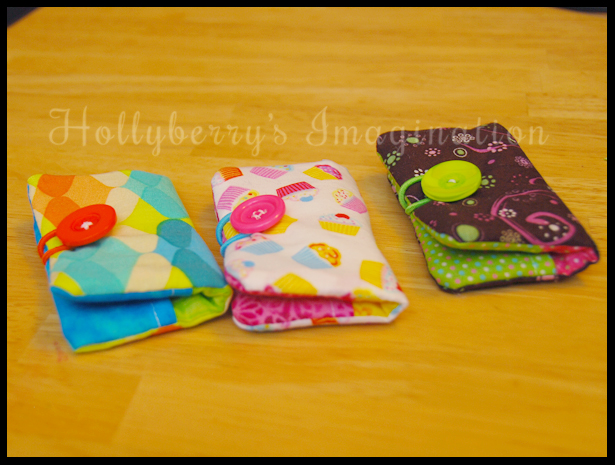
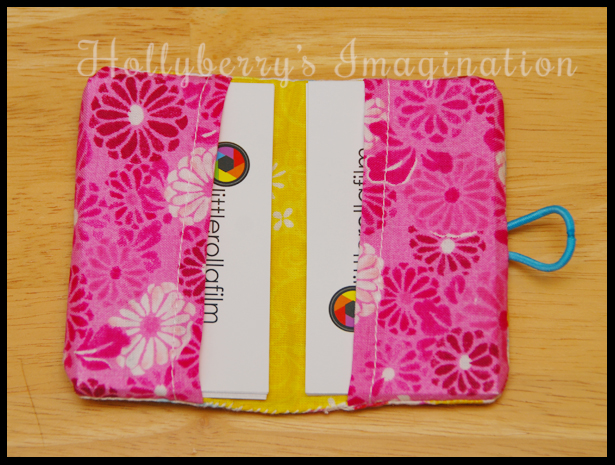
How to make an adorable and handy wallet to hold business cards (also great for credit cards, store cards, or gift cards).

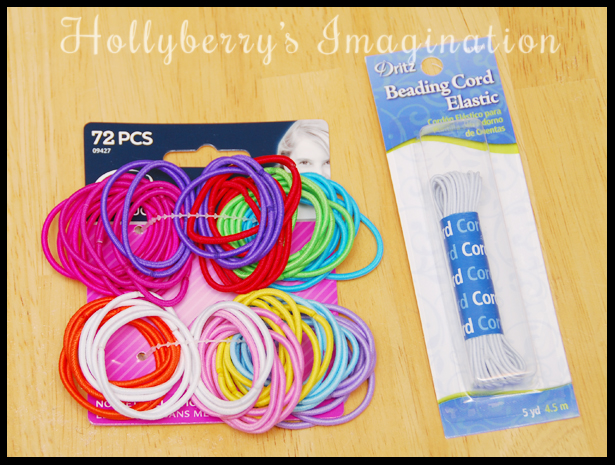
Supplies: Scrap fabric, small amount of interfacing, large button, and a small hair elastic or some

cord elastic.

wallet-05

wallet-02

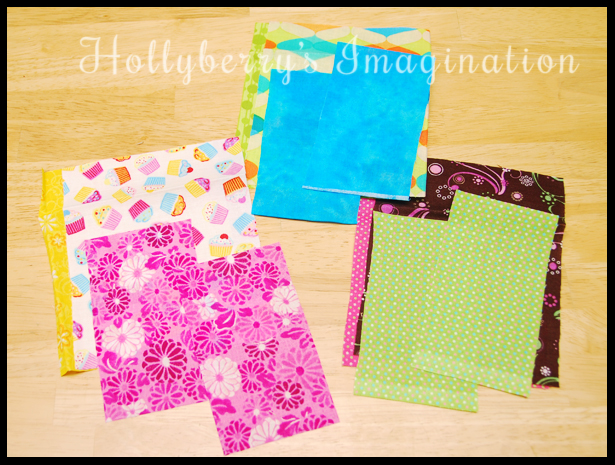
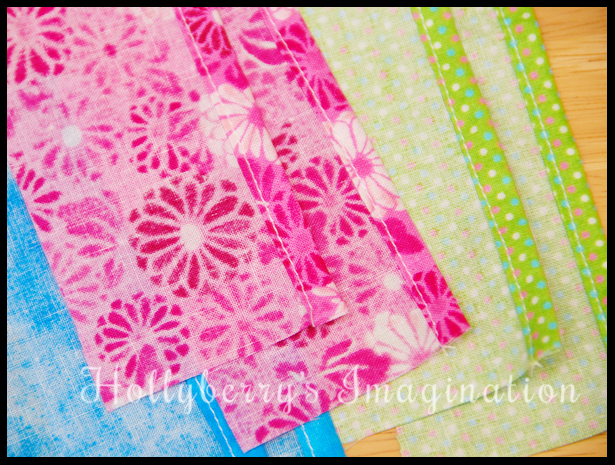
First cut out all your pieces of fabric & interfacing. For the main part of the wallet you will need 2 pieces of fabric 5 1/2″ X 4 1/2″ (These will be the inside and the outside of the wallet so you can use the same fabric or two different ones). Also cut a piece of interfacing the same size. For the pockets you will need to cut out two pieces of fabric 2 1/2″ X 4 1/2″.

wallet-03

wallet-04

Start with your small pieces for your pockets. Make a 1/4″ hem along one of the long sides of each piece.

wallet-08

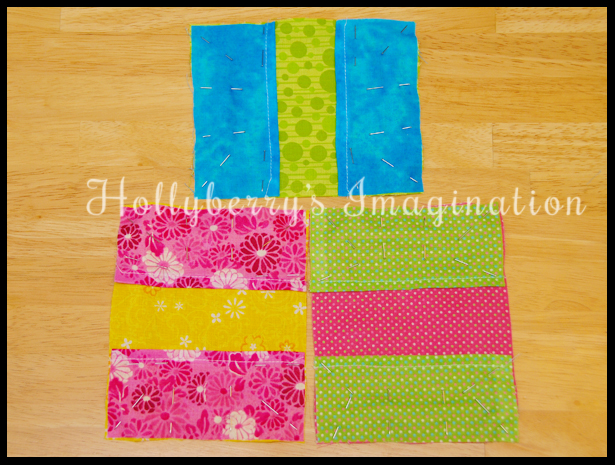
Next, lay out the larger piece of fabric that you want on the inside of your wallet. Make sure it is facing up. Place your hemmed pockets, also face up, on top of it with the hemmed edges facing in towards each other. (See picture below)

wallet-09

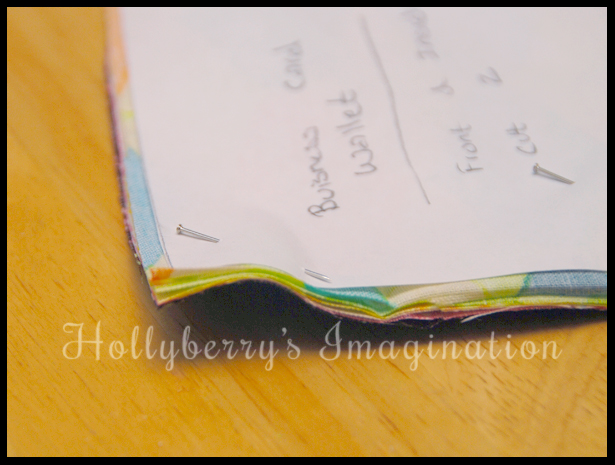
Now you want to place the interfacing beneath your inside fabric and then place the fabric for the outside, face down on top. Pin everything together. Make an  “X” using pins in the middle of one of the long sides. Do not sew this area together, it will be used to turn everything right side out. Before you sew it up, choose an elastic and slide it in between your pocket on one side and the outside fabric. Pin it in well so it will stay when sewing up the edges.

wallet-10

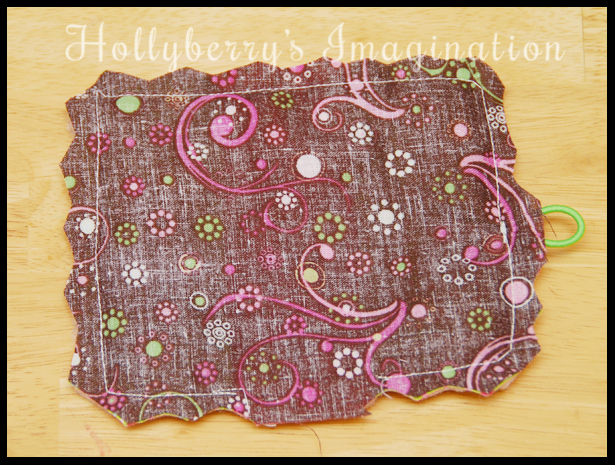
Sew around the edge, leaving out the area you made an “X”. I went over the side with the elastic about 3 times to help keep the elastic in place.

wallet-11

Now using pinking shears (or simply making a zig-zag pattern with regular sewing scissors) cut around the edges leaving the place where you made an “X” as is. Then turn everything right side out!

wallet-12

Hand sew the opening closed now, and iron your wallet nice and flat.

wallet-15

Sew on a button to the front side of the wallet, opposite the elastic.

wallet-14

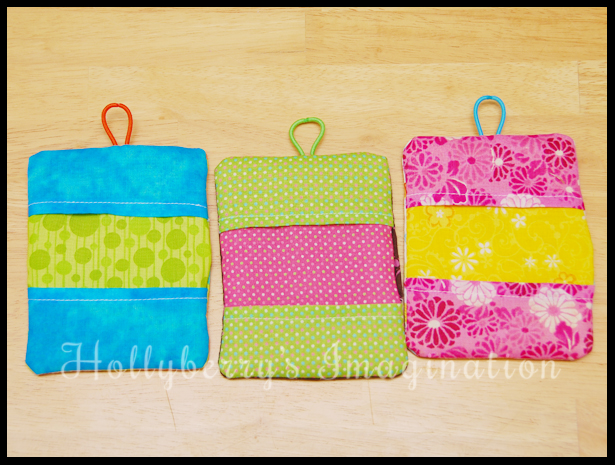
There you have it! A nice little wallet to hold any sort of business cards, store cards, gift cards, etc. You could also use it as “wrapping” for a gift card you are giving away as a gift!

wallet-01

-Holly

Enhanced by Zemanta

Sweatshirt Bag

sweatshirtbag09

Have an old sweatshirt lying around that you don’t really wear, isn’t comfy or was grown out of? Maybe one you got at some random event for free or as a prize and now sits in the very back of your closet because it’s just not your style? I came up with the solution of turning it into nice little tote bag! It is super easy to make and only requires very basic sewing skills.

Supplies: sweatshirt, cloth scissors, sewing machine, thread, and about 30 minutes to spare!

sweatshirtbag02

Cut the shirt using the above diagram if you want to use as much of the fabric as possible and make as large of bag as possible. I used a size small basic sweatshirt. Of course you could also make it smaller if you wanted to, especially if you are using a rather large shirt. I simply wanted to see what size bag I could get from the small one I had.

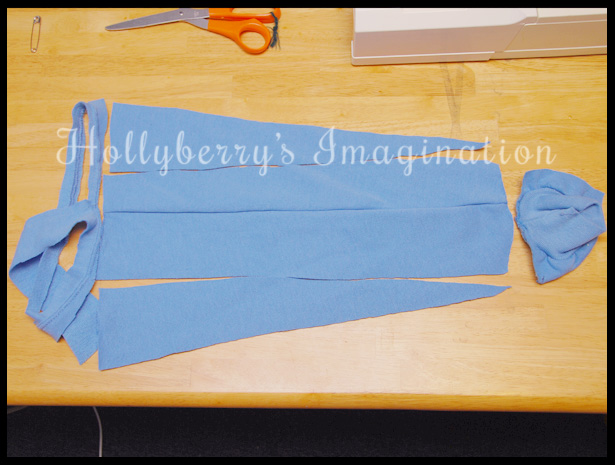
Cut through both sides of the shirt so you get two of each piece. Center = front & back, Left side = sides, Right side = straps, and next picture below shows how I used the rest of the right side arm for the bottom piece (you only need one of these.)

sweatshirtbag05

To make the bottom of the bag I used the rest of the right side sleeve (in previous picture above).

sweatshirtbag03

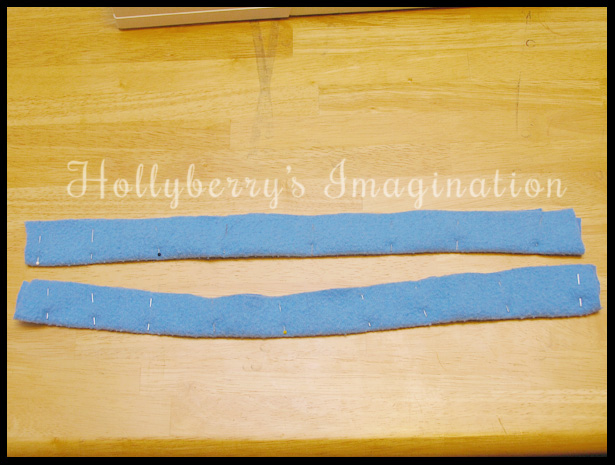
Fold the strap pieces in half the long way so that the right sides are facing each other. Pin and stitch them!

sweatshirtbag04

Once the straps are stitched, use pinking shears or make a zig-zag pattern using cloth scissors to help prevent fraying as well as make it easier to turn right side out. Then you want to turn them right side out now. This proves to be pretty tricky, so try and be patient.

sweatshirtbag06

Pin the bottom of your bag to the bottom side of your front and back pieces and stitch them together.

sweatshirtbag07

Pin your side pieces to the sides and bottom of the bag. (It should start looking like a bag now!) Stitch everything together!

sweatshirtbag08

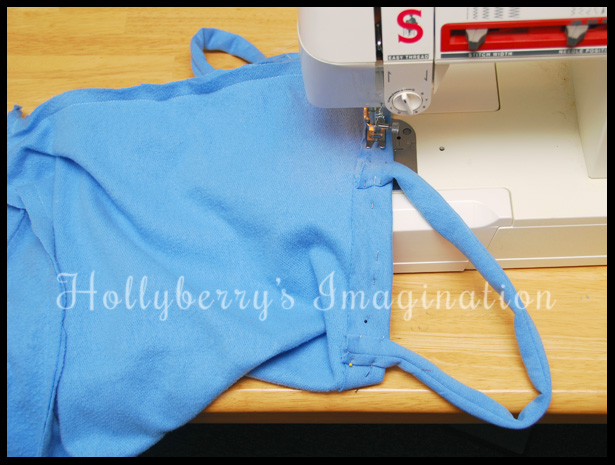
Hem the top of your bag byt 1/2 – 1 inches and pin your straps into place. Stitch everything together! I added a little extra stitching to the straps, seeing that they most likely will be getting the most wear and tear.

sweatshirtbag09

You now have a cute little bag and made a small dent in cleaning out your closet!

Please share any ideas or sweatshirt bags you create!

-Holly

Enhanced by Zemanta