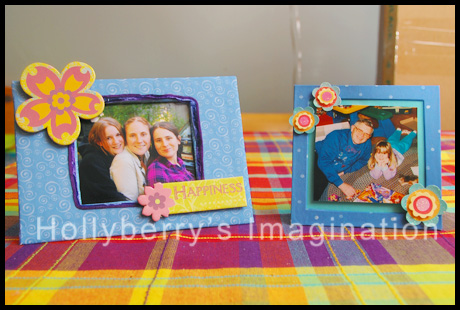
A while back a friend gave me some cardboard frame kits she found. They inspired me to make some frames using simple scrapbooking supplies I already have on hand. So for two of my frames I used the kits, and edited them slightly to not have circular openings, but rather larger square ones. For my third frame I used some scrap cardboard to create my own size and shape of a frame.
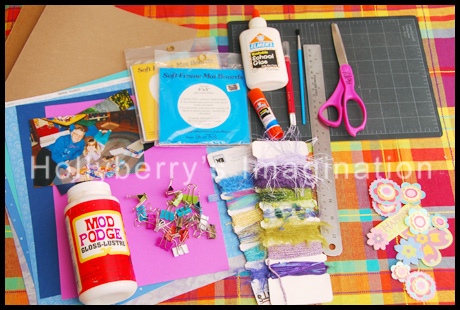
Supply List: scrap cardboard or frame kit, scrapbooking papers, x-acto knife, scissors, cutting mat or surface, ruler, pencil, mod podge, paint brush, glue stick, elmers glue, binder clips or clothes pins to use as lightweight clamps, decorative elements of your choice, and of course some pictures to fill the frames!
I will show how I made the frames using the kit as well as the frame using scrap card board side by side. Essetially it is the same steps, but the scrap card board gives you the freedom on what size and style opening you want to have (which could involve a lot of math if you get too complicated with it.) I kept mine very simple.
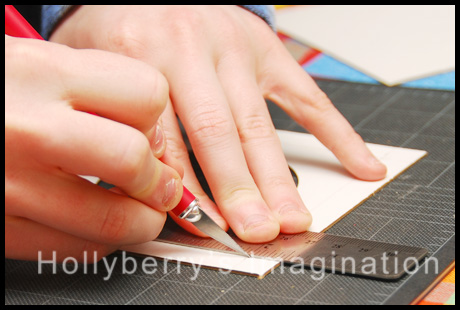
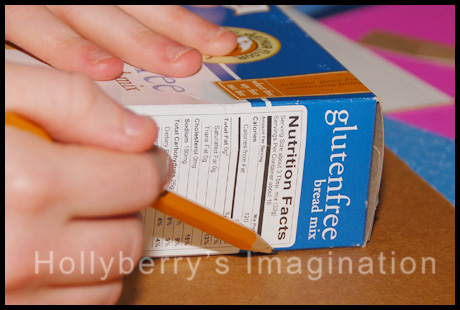
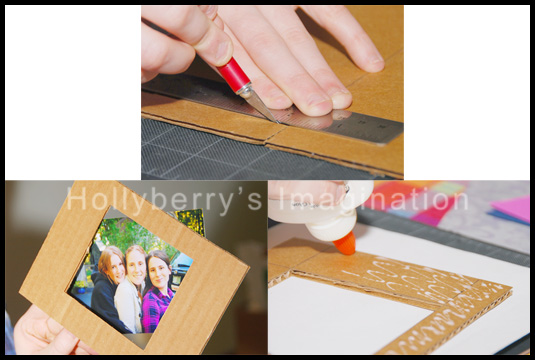
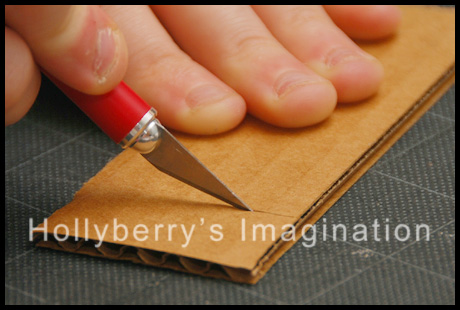
To start, with the kit I started by measuring out what I wanted the opening to actually be and then cut it out. For the scrap cardboard I picked an object to trace that was about the size I wanted my frame to be and also measured and cut the opening to what I wanted it to be.
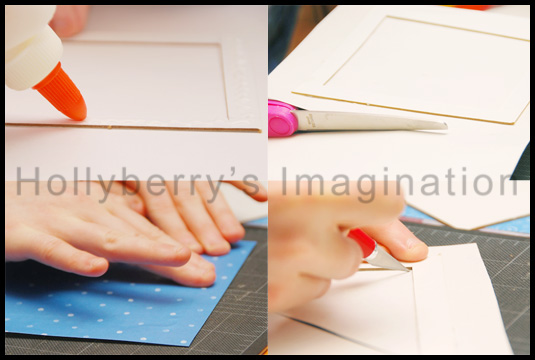
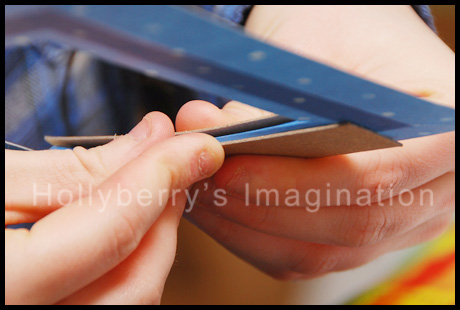
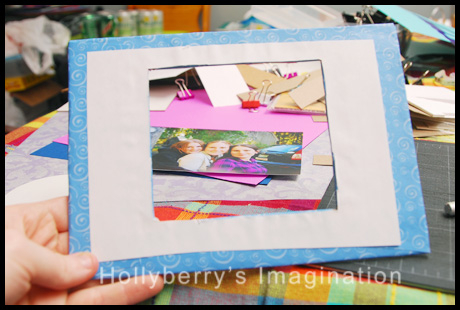
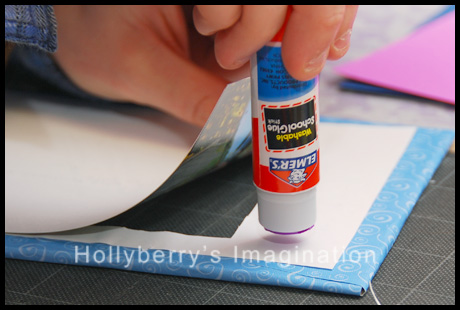
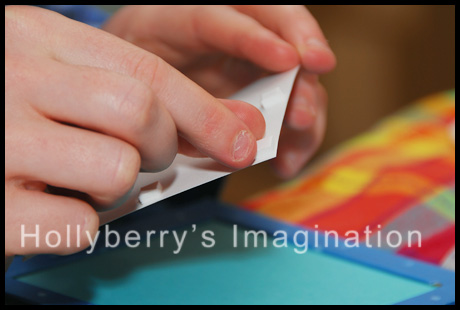
Next you want to put small amounts of glue around the edges of your frame and place it on the scrapbook paper of your choice. Make sure the paper is face down when you do this so you will end up with the right side on the outside of the frame. Flip it over so you are looking at the paper face up and the frame is underneath and smooth out any bubbles. Cut out the paper around the edges of the frame leaving enough room to wrap it around later (about an inch or two for mine).
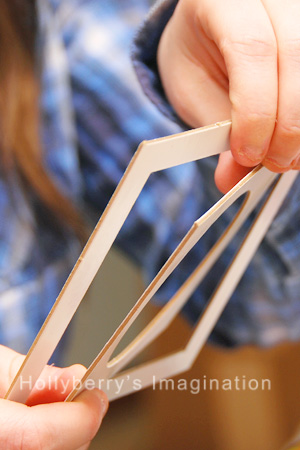
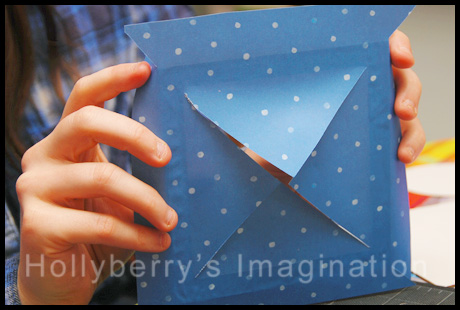
To finish off the opening cut out an “X” shape inside your frame. Try to get pretty close to the corners. Also cut the outside pieces by starting at the corners and going straight in to the corner of the frame. It should look something like the above picture. If you want your opening to be circular or a heart or basically anything with some smooth edges you will want to make lots of cuts on the smooth edges in order to keep the paper smooth in the next few steps.
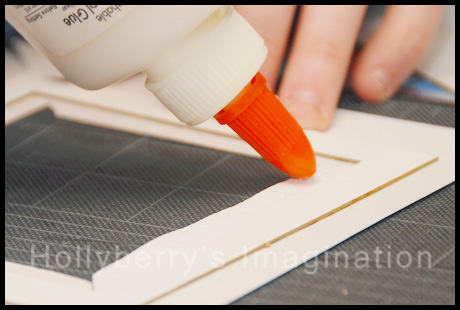
Cut down the triangles inside the frame you made when you cut an “X”. Leave enough room for the paper to wrap at least halfway across the back side of the frame. In mine I left about a 1/2 inch for my frame kit version. Next you want to add small amounts of glue to this inside piece you just cut down and wrap it around the cardboard.
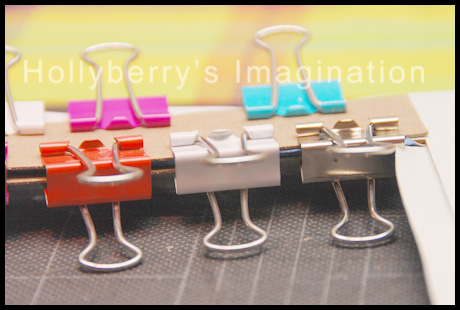
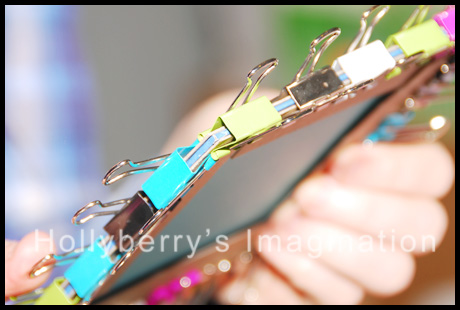
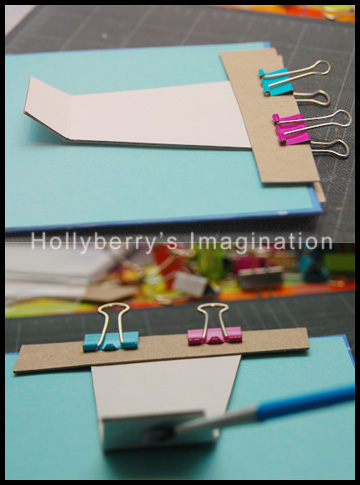
To let the glue set and leave my hands free to keep working I cut out some scrap card board in small thin strips and placed them on either side of frame. The cardboard is to help protect your frame from getting scratches or dents from the “clamps”, or in my case binder clips. Place the clips as even as you can on both sides. Also, you can do the opposite side of the frame at the same time without the clips touching, which will save you some drying time.
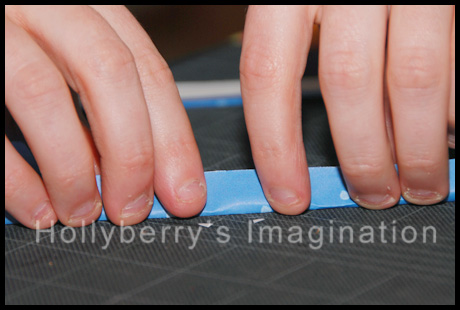
Once you finish the opening off, you can start on the outside edges. You will essentially be doing the same thing here. First trim the paper down so it doesn’t go too far around the frame, but also covers all the cardboard.
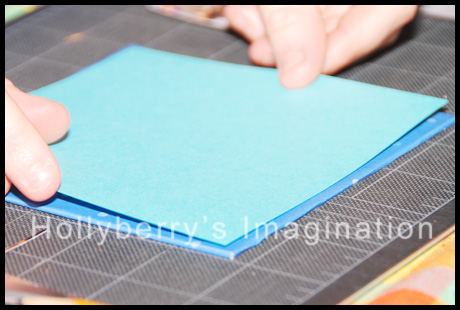
Once you finish wrapping the paper around all the edges your frame will start looking “finished”. For the frame I used scrap cardboard for, I noticed there was some areas where the cardboard was still showing and would touch my pictures. Anything that touches your photos you want to be acid-free or it can ruin them over time. Cardboard is not acid-free, therefore I placed some plain white acid-free paper on the back side where the picture was going to be touching the frame.
For my kit frame I decided to back it with a colored card stock that matches my picture. While the glue is drying I again used my scrap cardboard pieces and binder clips to hold everything together while it dried.
For my scrap cardboard frame I had made the opening just big enough for the image so I glued it straight to the back of my frame.
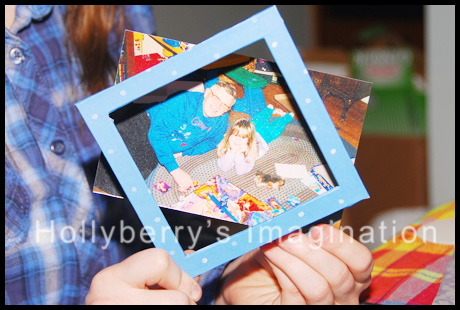
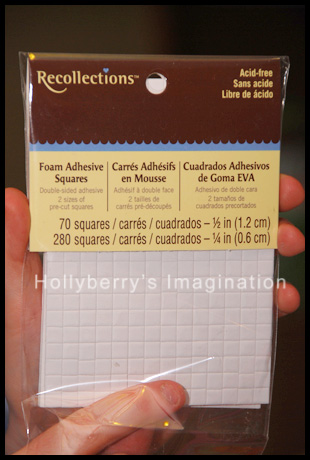
For my kit frame, I had cut the image slightly smaller then the opening I created for it, therefore with the backing color I put on, when I place the image on top, the color will show behind it. I also got a little creative and decided to use some foam adhesives to have the picture stand out from the paper a little.
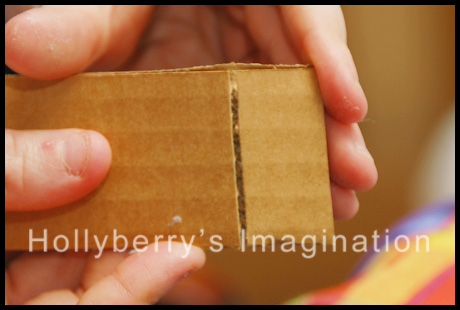
Next, we want to make the frame stand up on its own. My frame kit came with a pre-cut stand to use, so I lined it up with the bottom of my frame & clamped it there while I mod-podged the top section to the frame. For my scrap cardboard frame, I cut out my own stand using some more scrap cardboard and scored it. To score it so it will bend but not break off you want to only cut no more then halfway through the cardboard. Then I attached it the same way as my kit frame.
Next is decoration time! You can leave the frames they way they are with just the decorative scrapbook papers or you can add some embellishments to them!
So there you have it! How to make some really cute and super easy frames! Please comment with any of your own ideas for making frames!
-Holly

