Floral Pink & Purple Birthday Card Kit Tutorial

PinkPurpleFlowerCardKit01

For this card you should have 4 blank cards, 4 pre-stamped Happy Birthday pieces, 4 pre-stamped flower pieces, 4 pieces of small teal card stock, 4 pieces of pink card stock, 4 decorative pieces of paper, and 4 large teal pieces of cardstock.

PinkPurpleFlowerCardKit02

Fold your cards in half at the crease.

Layer the decorative purple paper on top of the large piece of teal paper and center on the card.

PinkPurpleFlowerCardKit03

Layer your flower stamped pieces onto the pink card stock and place just above center towards the left side of the card.

PinkPurpleFlowerCardKit04

Layer the happy birthday pieces onto the small teal card stock and use dimensional adhesives to attach to right side of the card.

PinkPurpleFlowerCardKit05

Please check out my other card kits here: Hollyberry’s Gifts & Craft Shop

Thank you,

~Holly


Exploring Birthday Card Tutorial

exploringCardKit01

For this card you should have 4 blank cards, pre-stamped on both sides. 4 Grey pre-stamped Happy Birthday pieces of cardstock, 4 decorative strips of paper, and 4 green pieces of cardstock.

exploringCardKit03

Fold each of your cards so the decorative car stamps and “never stop exploring” are on the bottom of the front of the card.

Layer the decorative paper on top of the green card stock strip and place above the decorative stamps on your card.

exploringCardKit05

Using dimensional adhesives, place your “happy birthday” piece of card stock in the center of your decorative paper.

exploringCardKit06

Check our more of my card kits for sale at : Hollyberry’s Gifts & Craft Shop

Thank you!

~Holly


Business Card Wallet

wallet-13

How to make an adorable and handy wallet to hold business cards (also great for credit cards, store cards, or gift cards).

Supplies: Scrap fabric, small amount of interfacing, large button, and a small hair elastic or some

cord elastic.

wallet-05

wallet-02

First cut out all your pieces of fabric & interfacing. For the main part of the wallet you will need 2 pieces of fabric 5 1/2″ X 4 1/2″ (These will be the inside and the outside of the wallet so you can use the same fabric or two different ones). Also cut a piece of interfacing the same size. For the pockets you will need to cut out two pieces of fabric 2 1/2″ X 4 1/2″.

wallet-03

wallet-04

Start with your small pieces for your pockets. Make a 1/4″ hem along one of the long sides of each piece.

wallet-08

Next, lay out the larger piece of fabric that you want on the inside of your wallet. Make sure it is facing up. Place your hemmed pockets, also face up, on top of it with the hemmed edges facing in towards each other. (See picture below)

wallet-09

Now you want to place the interfacing beneath your inside fabric and then place the fabric for the outside, face down on top. Pin everything together. Make an  “X” using pins in the middle of one of the long sides. Do not sew this area together, it will be used to turn everything right side out. Before you sew it up, choose an elastic and slide it in between your pocket on one side and the outside fabric. Pin it in well so it will stay when sewing up the edges.

wallet-10

Sew around the edge, leaving out the area you made an “X”. I went over the side with the elastic about 3 times to help keep the elastic in place.

wallet-11

Now using pinking shears (or simply making a zig-zag pattern with regular sewing scissors) cut around the edges leaving the place where you made an “X” as is. Then turn everything right side out!

wallet-12

Hand sew the opening closed now, and iron your wallet nice and flat.

wallet-15

Sew on a button to the front side of the wallet, opposite the elastic.

wallet-14

There you have it! A nice little wallet to hold any sort of business cards, store cards, gift cards, etc. You could also use it as “wrapping” for a gift card you are giving away as a gift!

wallet-01

-Holly

Enhanced by Zemanta

Starbucks Coffee Cupcakes

SBcupcakes-04

My boyfriend, Alex loves Starbucks coffee and today is his birthday. I decided to try and make him something simple, yummy, and fun. I am a Pinterist fan and discovered a few creative Starbucks birthday ideas. I also have a few food allergies, milk and gluten, so I needed to find a recipe that would work for me to eat as well. In the end I mixed a bunch of ideas I had and found together and came up with these cupcakes, which were a very big hit by the way!


Gluten & Dairy Free Coffee Cupcakes

makes 24 cupcakes ~ 20 minutes ~ oven at 350 degrees


3/4 cup (1 1/2 sticks) softened butter

2 cups sugar

2 cups gluten free flour

1 teaspoon tapioca flour

1 teaspoon xanthan gum

1/4 cup cocoa powder

1 teaspoon baking soda

1/2 teaspoon salt

4 tablespoons ground coffee or instant coffee mix

1 cup  almond milk

1/2 cup strongly brewed coffee

3 eggs


Cream butter and sugar together. Add coffee, milk & eggs. Mix well. In a separate bowl mix together dry ingredients. Slowly add dry ingredients to bowl of wet ingredients, mixing well.

Alex’s favorite Starbucks drink is a Caramel Macchiatio so I tried to replicate that as best I could using all caramel flavored coffee and frosting.

For the frosting I ended up using the Duncan Hines Frosting Creations with the Caramel flavored packet. I was a little pressed for time and have not found a homemade allergy-free frosting recipe I am happy with yet. This frosting however, proved to be  one of the best store bought frostings I have ever had!  For my coffee grounds/instant coffee mix I used this Nescafe Memento Caramel Latte mix. Later I discovered it did have a small amount of milk in it, but thankfully it did not bother me!

SBcupcakes-01

After the cakes were cool, I frosted them using a star shaped decorating tip so it would look sorta fancy and hopefully coffee-like. Then I printed and cut out my custom cupcake wrappers! Here is my template I used:

hollyberry-cupcake-wrap

For the logo, I simply looked up the image I wanted and added it to the document before printing. You can also have this template print to the back side of some pretty scrap booking paper for another type of custom and decorative look.

For the straws, I simply cut some green straws in 4 pieces and stuck them right into my “drinks”. Then I drizzled some caramel topping on!

SBcupcakes-02

These are an easy and fun way to add some personality to any party or event. You can easily transform them into most any company’s “drink” or flavor!

Feel free to share any of your own creations or ideas!!!

-Holly

Enhanced by Zemanta

Clay Bumble Bee

claybee02

Make an adorable little bumble bee from clay and wire.

Supplies: Sculpey III clay (my personal favorite clay to use), some 18-22 gauge wire (this size wire bends well, while still being sturdy to hold the weight of clay), and a pair of wire cutting pliers.

claybee01

Make two round yellow balls. One about 1″ diameter and the other about 1/2″ or a little less. Using the black clay make a little tail/stinger and two tiny eyes. And finally with the white clay create two eyes and two wings. Try to keep the wings less then an 1/8″ thick so they won’t be too heavy for your little bee!

Put the body together using a toothpick for support and attach his wings, stinger & eyes.

Using wire cutting pliers, cut and shape six legs for him to stand on and two antenna for his head. Add his legs and antenna to the rest of his body and he is ready to bake!

Preheat your oven to 275 degrees. Using a cookie sheet covered in aluminum foil, place your bee into the oven and back for 15 minutes. Be very careful when the clay comes out of the oven, it is VERY hot. Let everything cool for 15-30 minutes before picking up your object!

Enjoy your cute little bee!!!

claybee02

-Holly

Enhanced by Zemanta

Sweatshirt Bag

sweatshirtbag09

Have an old sweatshirt lying around that you don’t really wear, isn’t comfy or was grown out of? Maybe one you got at some random event for free or as a prize and now sits in the very back of your closet because it’s just not your style? I came up with the solution of turning it into nice little tote bag! It is super easy to make and only requires very basic sewing skills.

Supplies: sweatshirt, cloth scissors, sewing machine, thread, and about 30 minutes to spare!

sweatshirtbag02

Cut the shirt using the above diagram if you want to use as much of the fabric as possible and make as large of bag as possible. I used a size small basic sweatshirt. Of course you could also make it smaller if you wanted to, especially if you are using a rather large shirt. I simply wanted to see what size bag I could get from the small one I had.

Cut through both sides of the shirt so you get two of each piece. Center = front & back, Left side = sides, Right side = straps, and next picture below shows how I used the rest of the right side arm for the bottom piece (you only need one of these.)

sweatshirtbag05

To make the bottom of the bag I used the rest of the right side sleeve (in previous picture above).

sweatshirtbag03

Fold the strap pieces in half the long way so that the right sides are facing each other. Pin and stitch them!

sweatshirtbag04

Once the straps are stitched, use pinking shears or make a zig-zag pattern using cloth scissors to help prevent fraying as well as make it easier to turn right side out. Then you want to turn them right side out now. This proves to be pretty tricky, so try and be patient.

sweatshirtbag06

Pin the bottom of your bag to the bottom side of your front and back pieces and stitch them together.

sweatshirtbag07

Pin your side pieces to the sides and bottom of the bag. (It should start looking like a bag now!) Stitch everything together!

sweatshirtbag08

Hem the top of your bag byt 1/2 – 1 inches and pin your straps into place. Stitch everything together! I added a little extra stitching to the straps, seeing that they most likely will be getting the most wear and tear.

sweatshirtbag09

You now have a cute little bag and made a small dent in cleaning out your closet!

Please share any ideas or sweatshirt bags you create!

-Holly

Enhanced by Zemanta

Necklace & Key Rack

keynecklace-11

I have been looking for some sort of solution for keeping my necklace’s from getting tangled every time I take them off. I don’t wear them often, but every time I do it seems I have to spend 20 minutes untangling it first. So I came up with the solution of using small cup hooks and making my own rack. While I was at it I decided to update the key rack in our apartment. (Previously a few command hooks by the door, now a cute and colorful rack!)

keynecklace-01

Supplies: Some small pieces of wood or wood plaques from the craft store, acrylic paint, paint brushes, small screw in cup hooks, a ruler, a pencil, and some picture hanging command adhesive.

keynecklace-02

I started by painting all my wood plaques white to prime them. I wanted the bright colors to really pop and to use the least amount of coats of paint.

keynecklace-03

I then began to paint the face of them. I used 1-2 coats depending on the color. I wanted to ad more colors to the edges, but if you like this look of white edges you could stop here too!

keynecklace-04

This is how mine looked as I added multiple colors to the sides.

keynecklace-05

Once everything is dry you are ready to get some hooks on them! First decided how many hooks you want on each rack. For my key racks I used 3 and the for the necklace rack I used 5 since they are much smaller objects. Using a ruler and pencil I marked out evenly where I wanted the hooks to be.

keynecklace-06

The hooks will screw into most wood very easily right over your pencil marks, and then you will have a finished little rack!

keynecklace-07

To hang your rack on a wall you could drill a hole for it to sit on a nail or picture holder. Living in an apartment I wanted a solution that won’t hurt the walls and still is easy and looks great. So I used the picture hanging command adhesive (the kind that has Velcro basically.) The reason I choose this kind is because I wanted it to be stronger in order to hold keys and to hide completely behind the rack. Normal command adhesive needs a small piece of it showing in order to properly remove it later. This stronger kind can completely hind though because of how it uses Velcro to attach to your objects! In my picture you can sort of see how I essentially used 4 medium command adhesives and 2 sets of Velcro strips (they come with the adhesive.)

keynecklace-08

And there you have it! Some cute and colorful racks for keys, necklaces or other small objects!

-Holly


Woodchip Bugs!

woodbugs09

It’s spring! At least, it’s trying to be. Today is not working out to well weather-wise here in New England. As the warmer weather does start to come around, so do the bugs! These bugs however, are the kind that don’t bite and you might even invite to a picnic. They are very simple to make and so darn cute!

Supplies: Wood chip pieces from a craft store (you will need different size circles and teardrop shapes),  some wire (18-22 gauge seems like it works best), Pliers (the kind that will cut the wire too), Acrylic paint, Paint brushes, a black Permanent marker, Googly eyes, and some glue!

woodbugs01

Pick out the pieces you need for whichever bug you choose to make. Actual size of these shapes doesn’t really matter. The large ones I used for the bodies were about 1 1/4″. For the bee’s wings I clipped a corner of a teardrop shape so it looked a little more wing-like. Then start painting them whatever color you want your bug! I recommend 10 minutes of drying time before painting the opposite sides so they don’t stick to anything. Also, I found that two coats looked far better then just one.

woodbugs02

Once your top piece of your bug is completely dry, use a black permanent marker to draw a design on its back. For the bee I made stripes and the ladybug I made dots.

woodbugs03

Next, I start putting the bug together. I found this part to be rather tricky. I cut out 3 pieces of wire to sit over the bottom side of the body for the legs. (Note: I used 18 gauge wire, be careful not to just buy any wire. You want one that is easy to bend, but stiff enough to hold up your bug)  I wanted to just glue them all on, but that really didn’t work out so well… or at all for that matter. So instead I used a little tape to hold them all on before I could get the glue on. (another option could be a hot glue gun if you are not involving kids in this project.)

woodbugs04

Then I put plenty of glue on his back and put his head and then his back top piece on. I did end up needing some clamps (clothespins, or something similar) to hold some of them together while they dried. Once they were dry, they were standing up pretty good!

woodbugs05

Now you want to flip your bug over to glue his tail on. Let it dry and then help him back on his feet!

woodbugs06

Glue his wings on his back right behind his head. Also make some him an antenna out of wire and glue it on. I used super glue, because that is the only thing that seemed to work for that part. Regular craft glue proved to be too slippery and dry too slow and I didn’t want a large blob of hot glue on his head.

woodbugs07

Finally give him some cute little googly eyes!

woodbugs08

My finished bugs are about 1″ off the ground and 1 1/2″-2″ wide.

woodbugs09

These would be great projects to make with kids, give away as little gifts or even party favors!

Please feel free to share any bugs you create with wood chips, I would love to see them!

-Holly


Cardboard Frames

frames001

A while back a friend gave me some cardboard frame kits she found. They inspired me to make some frames using  simple scrapbooking supplies I already have on hand. So for two of my frames I used the kits, and edited them slightly to not have circular openings, but rather larger square ones. For my third frame I used some scrap cardboard to create my own size and shape of a frame.

frames003

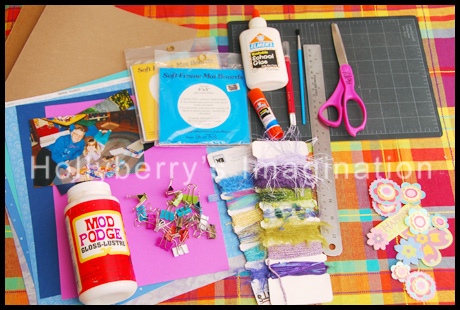
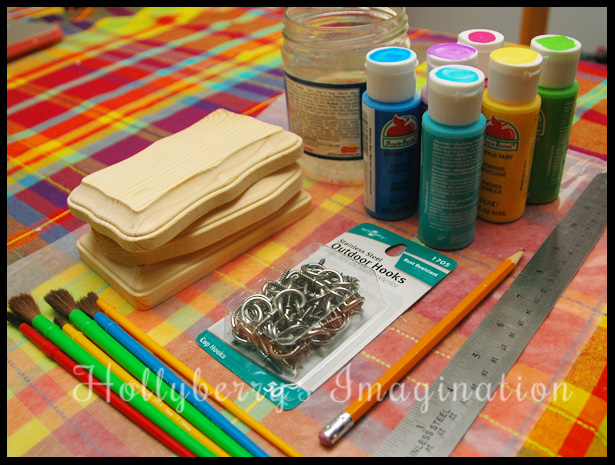
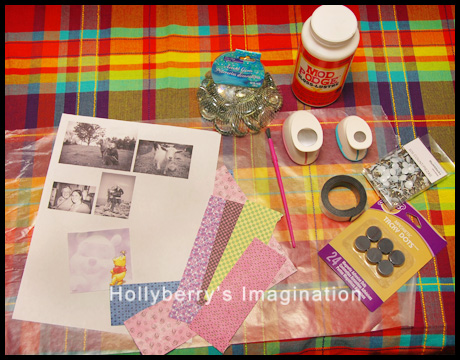
Supply List: scrap cardboard or frame kit, scrapbooking papers, x-acto knife, scissors, cutting mat or surface, ruler, pencil, mod podge, paint brush, glue stick, elmers glue, binder clips or clothes pins to use as lightweight clamps, decorative elements of your choice, and of course some pictures to fill the frames!

I will show how I made the frames using the kit as well as the frame using scrap card board side by side. Essetially it is the same steps, but the scrap card board gives you the freedom on what size and style opening you want to have (which could involve a lot of math if you get too complicated with it.) I kept mine very simple.

frames004

frames005

frames011

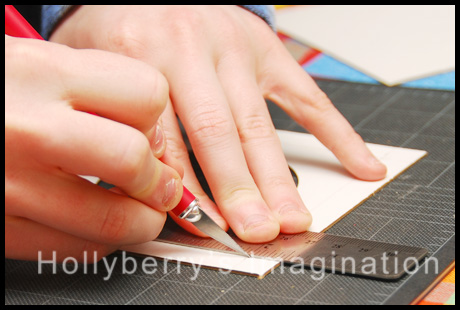
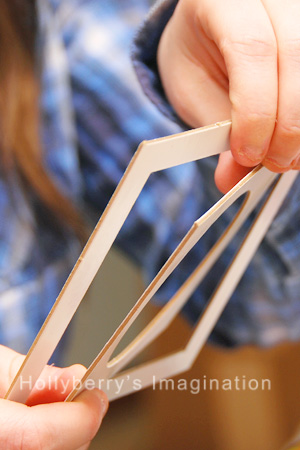
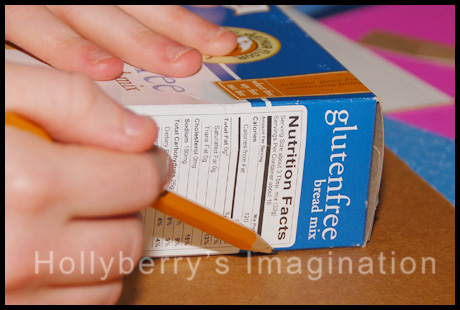
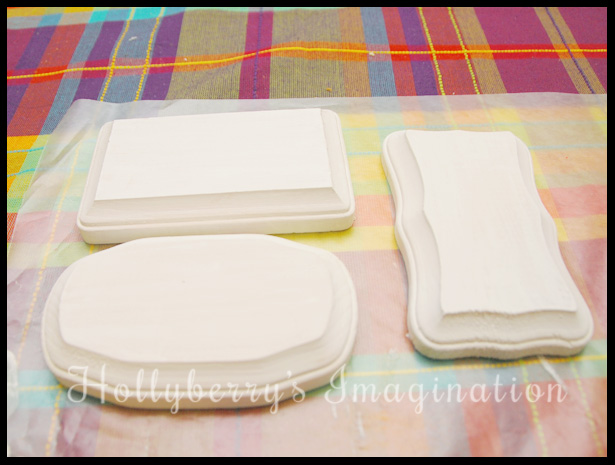
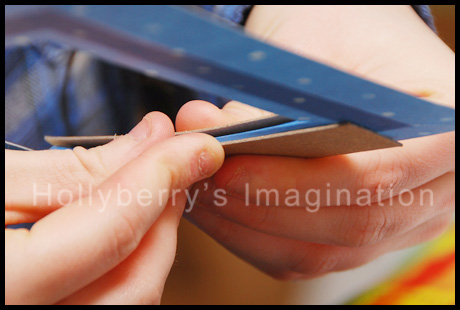
To start, with the kit I started by measuring out what I wanted the opening to actually be and then cut it out. For the scrap cardboard I picked an object to trace that was about the size I wanted my frame to be and also measured and cut the opening to what I wanted it to be.

frames012

frames006

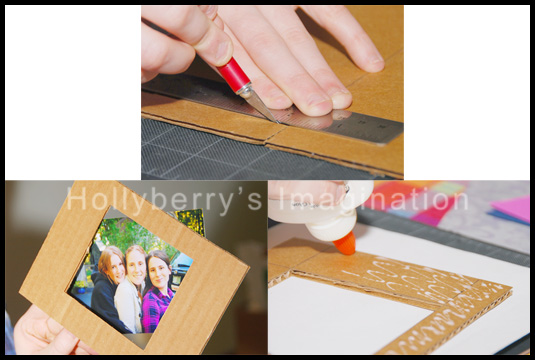
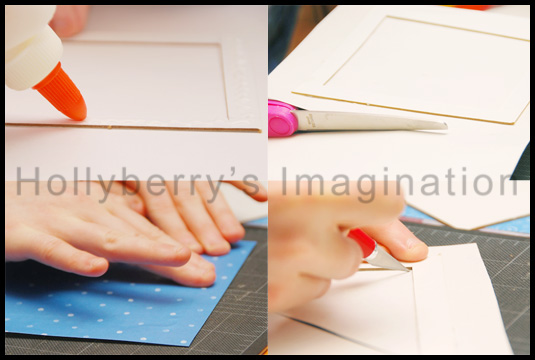
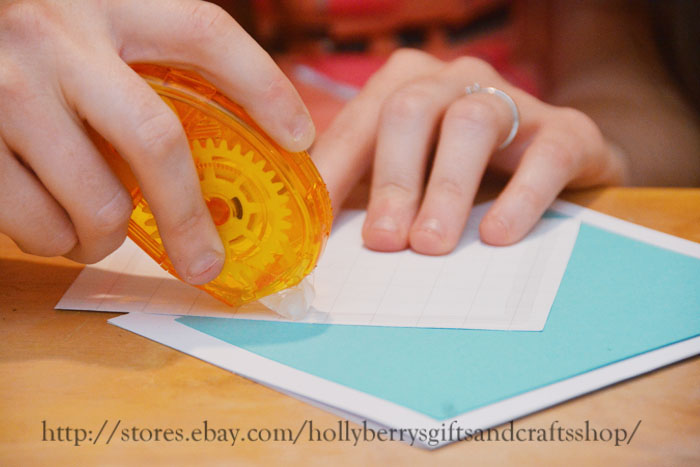
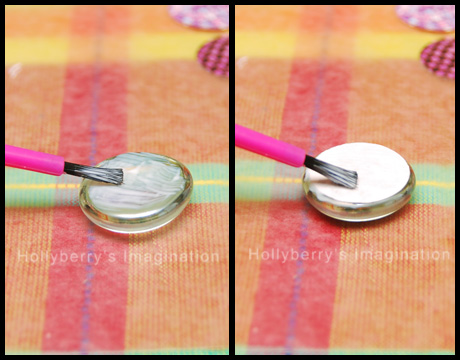
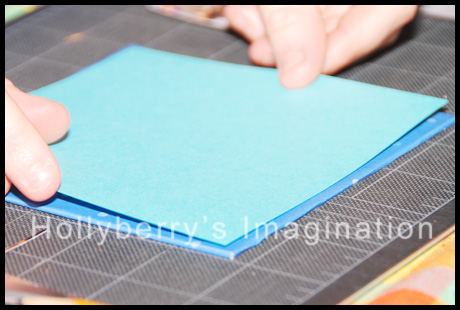
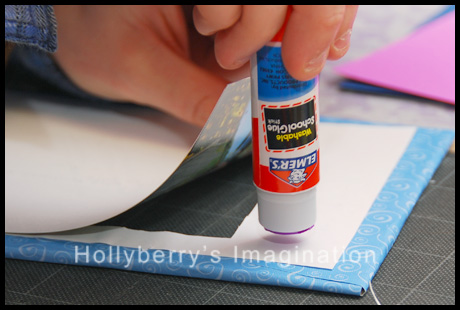
Next you want to put small amounts of glue around the edges of your frame and place it on the scrapbook paper of your choice. Make sure the paper is face down when you do this so you will end up with the right side on the outside of the frame. Flip it over so you are looking at the paper face up and the frame is underneath and smooth out any bubbles. Cut out the paper around the edges of the frame leaving enough room to wrap it around later (about an inch or two for mine).

frames007

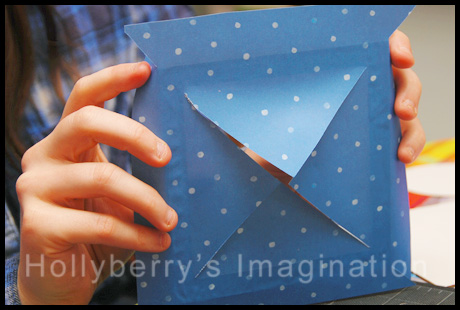
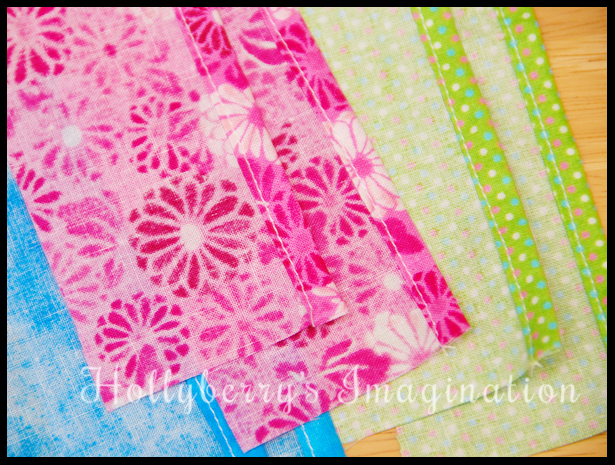
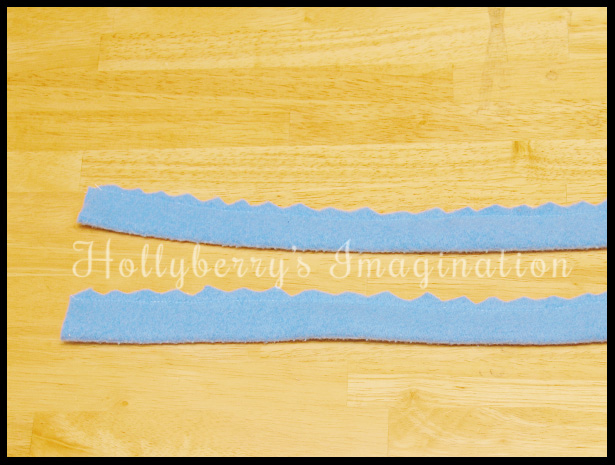
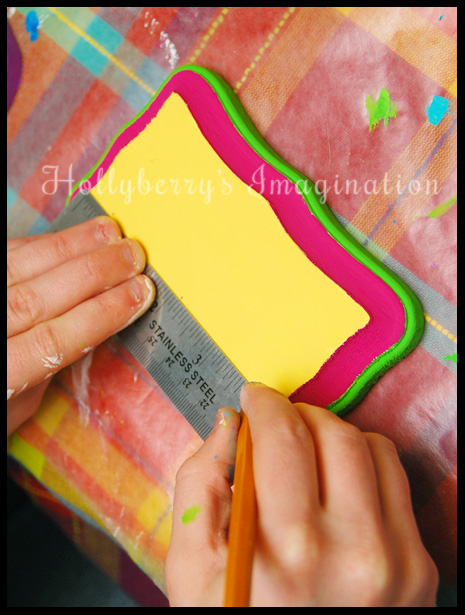
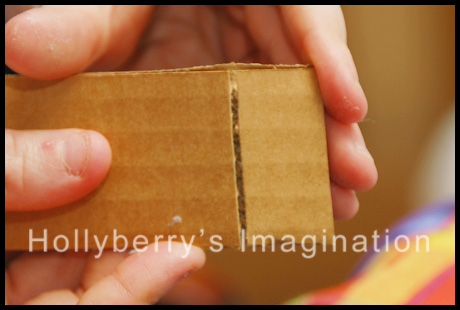
To finish off the opening cut out an “X” shape inside your frame. Try to get pretty close to the corners. Also cut the outside pieces by starting at the corners and going straight in to the corner of the frame. It should look something like the above picture. If you want your opening to be circular or a heart or basically anything with some smooth edges you will want to make lots of cuts on the smooth edges in order to keep the paper smooth in the next few steps.

frames008

Cut down the triangles inside the frame you made when you cut an “X”. Leave enough room for the paper to wrap at least halfway across the back side of the frame. In mine I left about a 1/2 inch for my frame kit version. Next you want to add small amounts of glue to this inside piece you just cut down and wrap it around the cardboard.

frames009

frames010

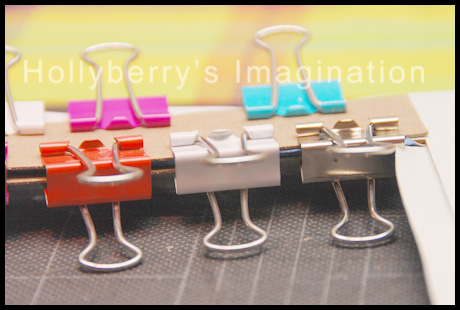
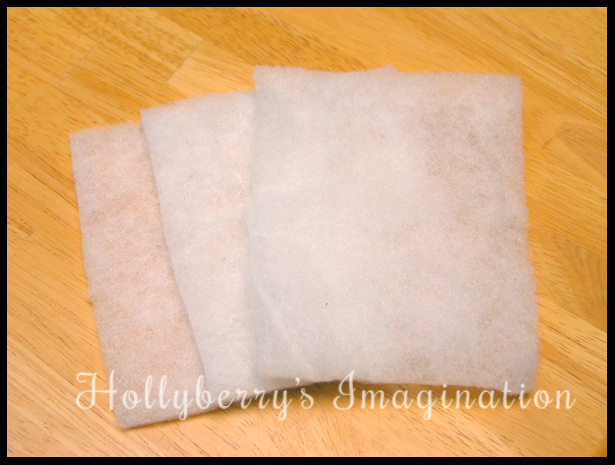
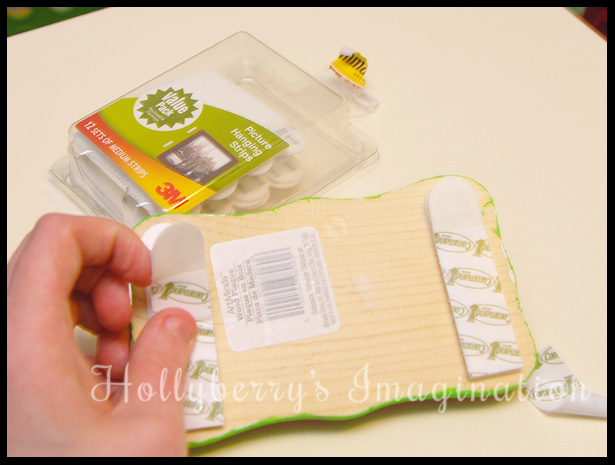
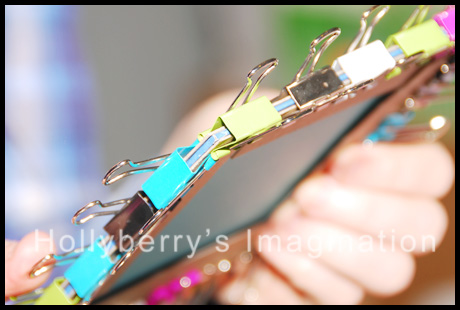
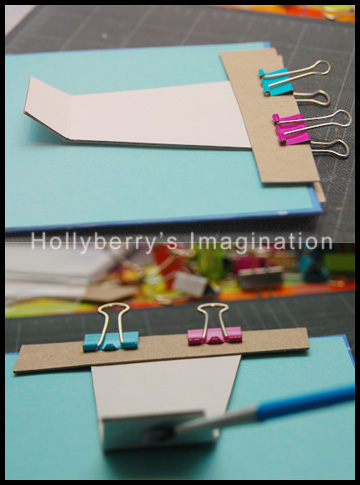
To let the glue set and leave my hands free to keep working I cut out some scrap card board in small thin strips and placed them on either side of frame. The cardboard is to help protect your frame from getting scratches or dents from the “clamps”, or in my case binder clips. Place the clips as even as you can on both sides. Also, you can do the opposite side of the frame at the same time without the clips touching, which will save you some drying time.

frames013

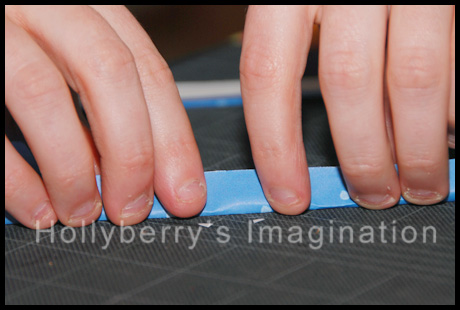
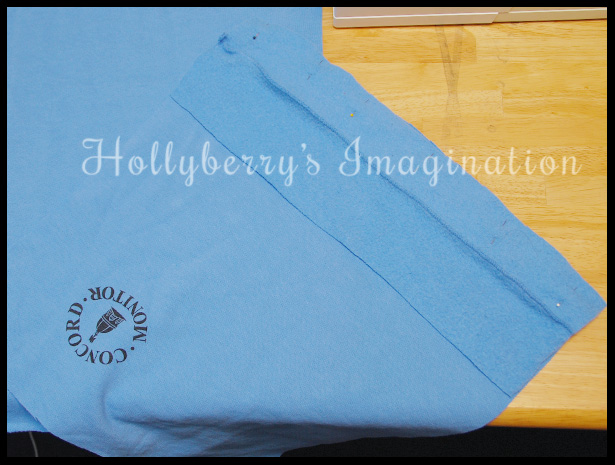
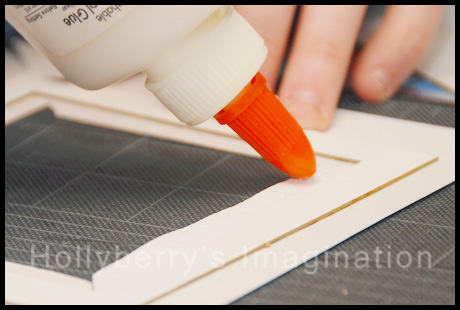
Once you finish the opening off, you can start on the outside edges. You will essentially be doing the same thing here. First trim the paper down so it doesn’t go too far around the frame, but also covers all the cardboard.

frames014

frames021

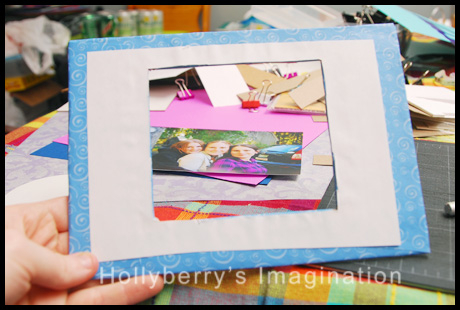
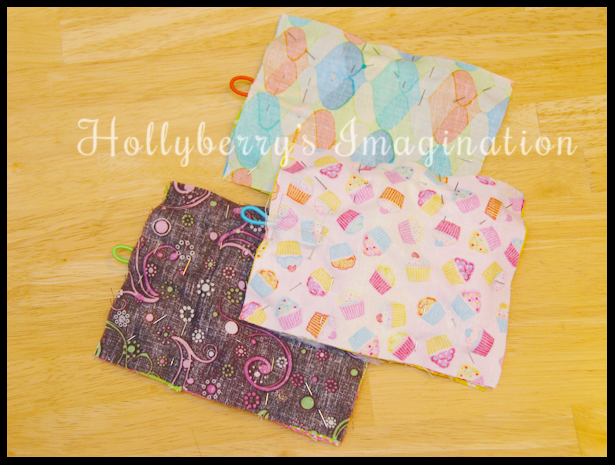
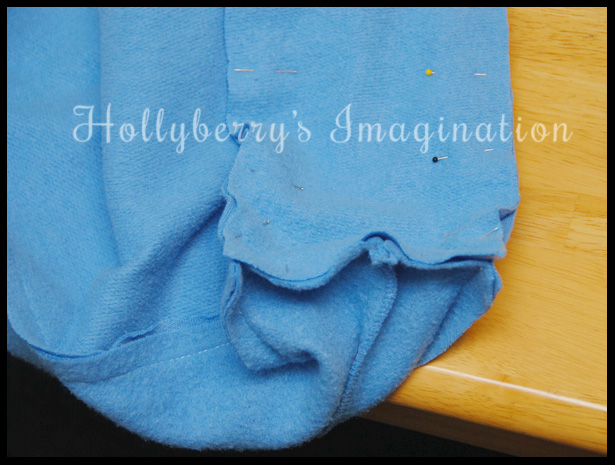
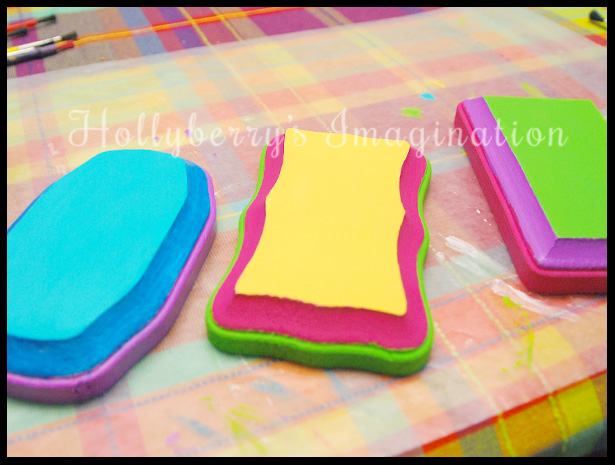
Once you finish wrapping the paper around all the edges your frame will start looking “finished”. For the frame I used scrap cardboard for, I noticed there was some areas where the cardboard was still showing and would touch my pictures. Anything that touches your photos you want to be acid-free or it can ruin them over time. Cardboard is not acid-free, therefore I placed some plain white acid-free paper on the back side where the picture was going to be touching the frame.

frames015

frames016

For my kit frame I decided to back it with a colored card stock that matches my picture. While the glue is drying I again used my scrap cardboard pieces and binder clips to hold everything together while it dried.

frames022

For my scrap cardboard frame I had made the opening just big enough for the image so I glued it straight to the back of my frame.

frames017

frames018

frames019

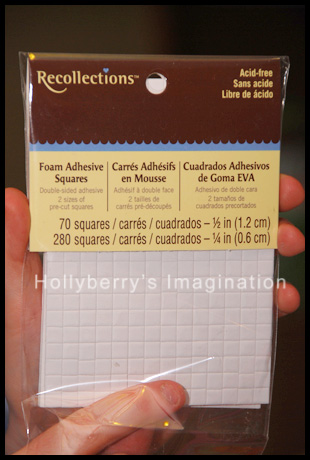
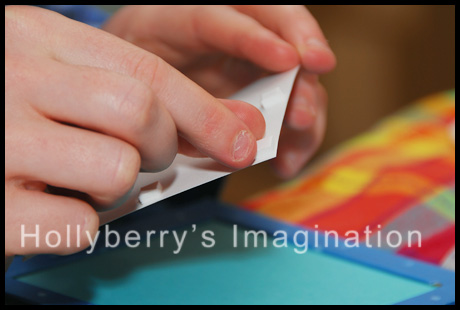
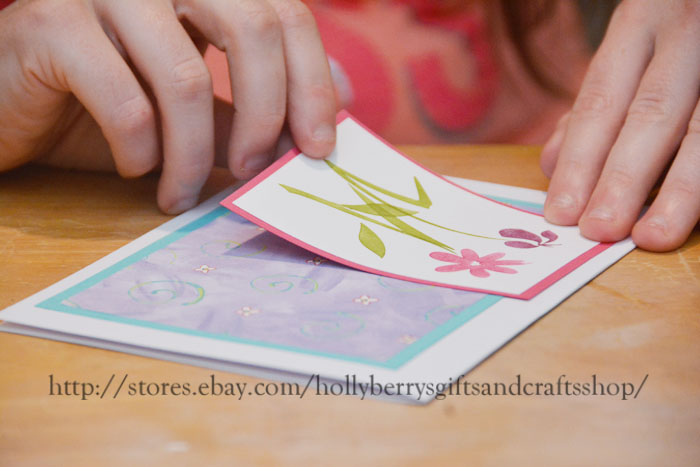
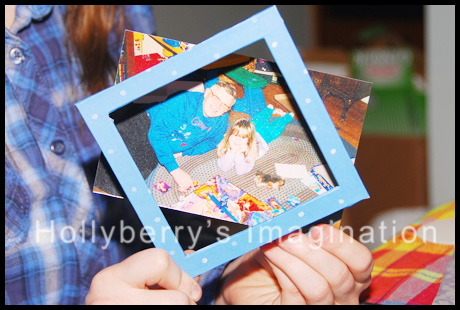
For my kit frame, I had cut the image slightly smaller then the opening I created for it, therefore with the backing color I put on, when I place the image on top, the color will show behind it. I also got a little creative and decided to use some foam adhesives to have the picture stand out from the paper a little.

frames020

frames023

frames024

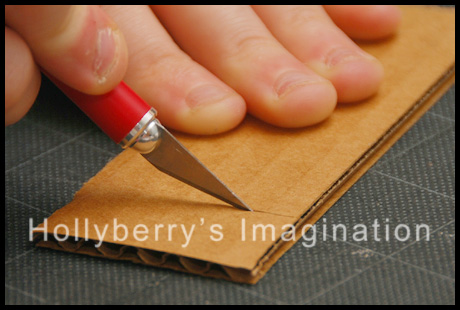
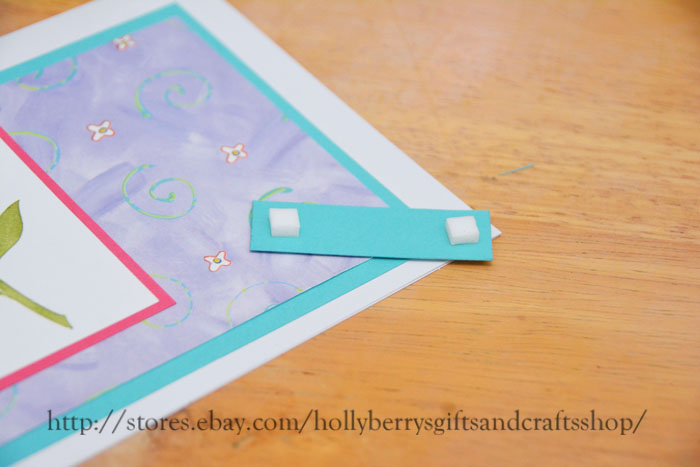
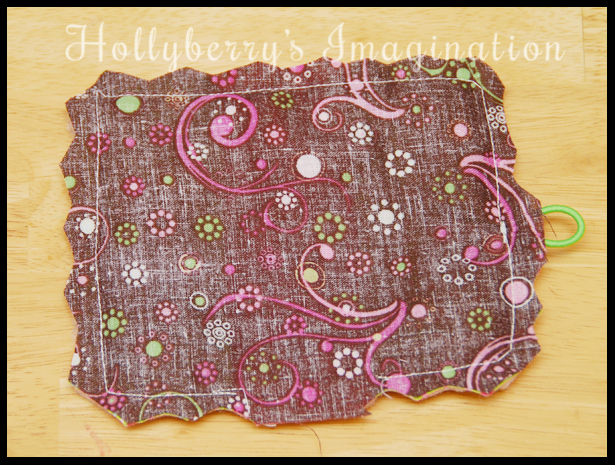
Next, we want to make the frame stand up on its own. My frame kit came with a pre-cut stand to use, so I lined it up with the bottom of my frame & clamped it there while I mod-podged the top section to the frame. For my scrap cardboard frame, I cut out my own stand using some more scrap cardboard and scored it. To score it so it will bend but not break off you want to only cut no more then halfway through the cardboard. Then I attached it the same way as my kit frame.

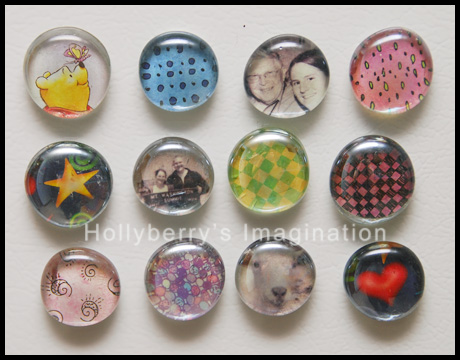
Next is decoration time! You can leave the frames they way they are with just the decorative scrapbook papers or you can add some embellishments to them!

frames002

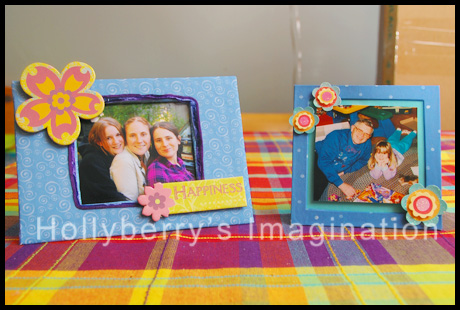
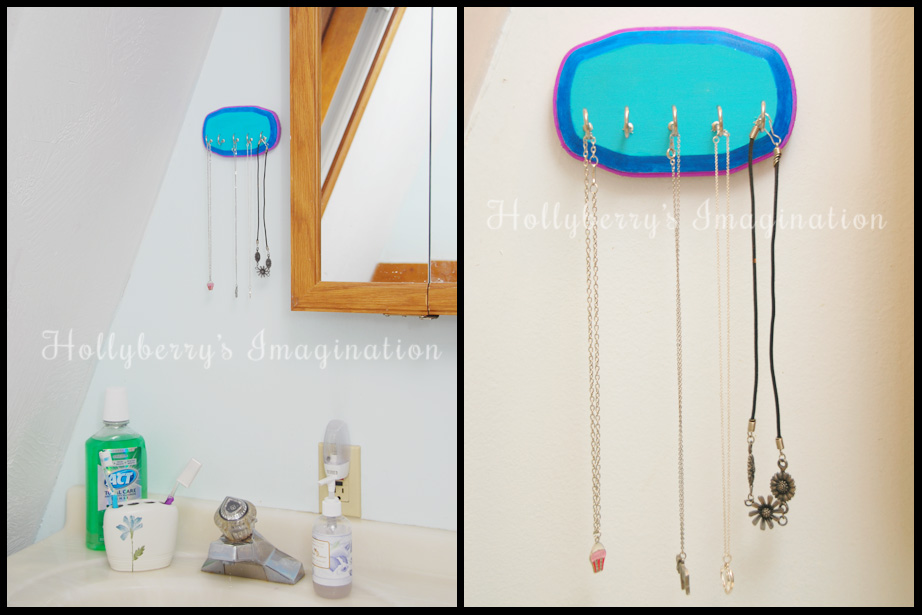
So there you have it! How to make some really cute and super easy frames! Please comment with any of your own ideas for making frames!

-Holly

Enhanced by Zemanta

Glass Gem Magnets

glassgems01

You know those glass gems they sell in bags at craft stores (even the dollar store, where I found mine). They come in all sorts of colors and look neat, but I never know what to do with them other then use them in a bottom of a vase or fishbowl. In high school I painted the backs of the clear ones and used them as cool looking tacks for hanging pictures/posters, but after a short while the paint would peal and the tacks would fall off. I was sort of sad because they did look really neat so when I saw the bigger sized ones at the dollar store I had a great idea. I figured these would be big enough to see pictures through if I printed them small enough. So I set to work coming up with some ideas.

This is what I came up with!

glassgems02

Glass Gem Magnets

Supplies: larger glass gems with one side flat (just over an inch in diameter), small pictures printed on regular paper or some pretty scrapbook paper, circle punch (or scissors), magnets (you could try tacks on smaller gems), super glue (optional), modge podge, and a small paint brush.

glassgems03

The punch I used was for a 1″ circle which fit perfectly on my gems flat sides. I flipped the punch over so I could choose where the picture or design would cut. If you don’t have a punch, simply trace out your gem on the paper and cut it out slightly smaller.

glassgems04

Be careful with the gems that have scratches or cracks on them. Test them over your pictures first to see if it will show up at all. I found cracks like the one above were very noticeable. Luckily there were only a few like that, so i just set them aside.

glassgems05

Once all your pictures or designs are all punched (or cut) out, it is time to get out the modge podge! First I painted a little on the gem’s flat side and then carefully placed the pictures face down on it. Smooth it out a little so there are no wrinkles or bubbles. Then for a little extra security I painted some more modge podge over the back of the pictures going slightly over the edges. Let them dry for about 15 minutes or so.

glassgems06

To adhere the magnets I used super glue.  The magnets were the kind with adhesive on the back, but again I like to make sure everything is secure and not going to fall off in a few days. So hold a little pressure on each magnet for about 30 seconds.

glassgems07

Even though they dry fast I like to let sit for a few minutes before testing them out on the fridge.

glassgems08

That’s it! You now have a cute little collection of magnets to give away as gifts, or display masterpieces of the fridge!

-Holly

Enhanced by Zemanta