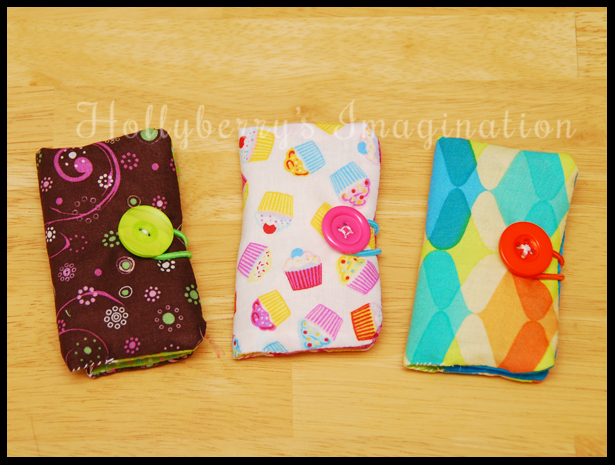
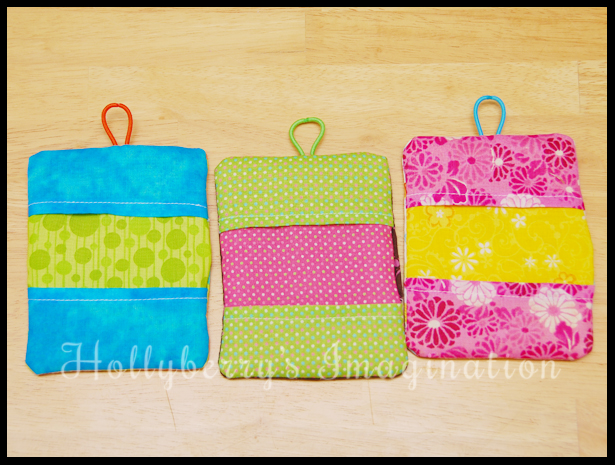
How to make an adorable and handy wallet to hold business cards (also great for credit cards, store cards, or gift cards).
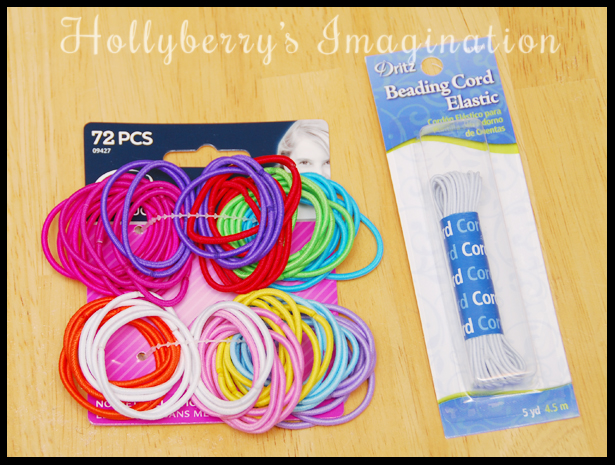
Supplies: Scrap fabric, small amount of interfacing, large button, and a small hair elastic or some
cord elastic.
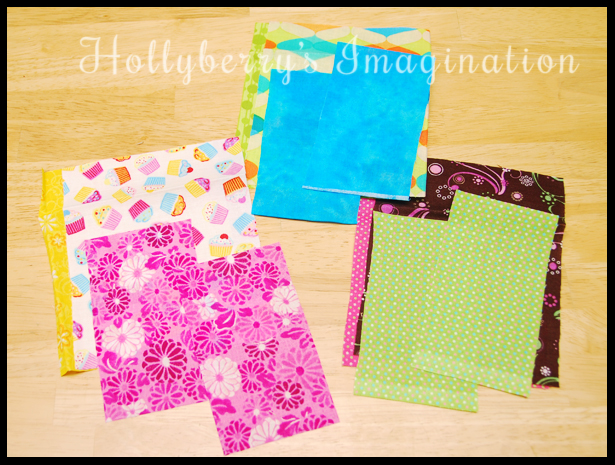
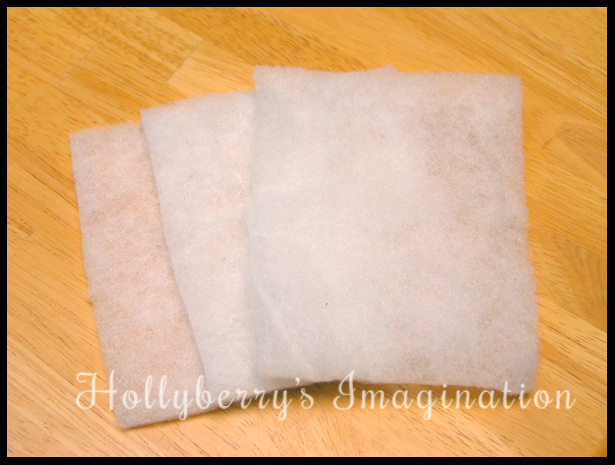
First cut out all your pieces of fabric & interfacing. For the main part of the wallet you will need 2 pieces of fabric 5 1/2″ X 4 1/2″ (These will be the inside and the outside of the wallet so you can use the same fabric or two different ones). Also cut a piece of interfacing the same size. For the pockets you will need to cut out two pieces of fabric 2 1/2″ X 4 1/2″.
Start with your small pieces for your pockets. Make a 1/4″ hem along one of the long sides of each piece.
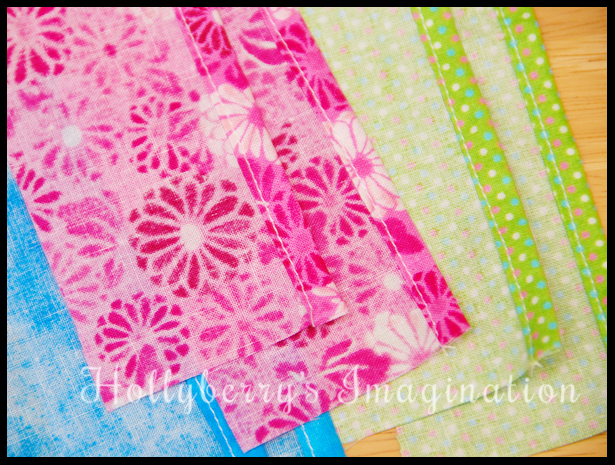
Next, lay out the larger piece of fabric that you want on the inside of your wallet. Make sure it is facing up. Place your hemmed pockets, also face up, on top of it with the hemmed edges facing in towards each other. (See picture below)

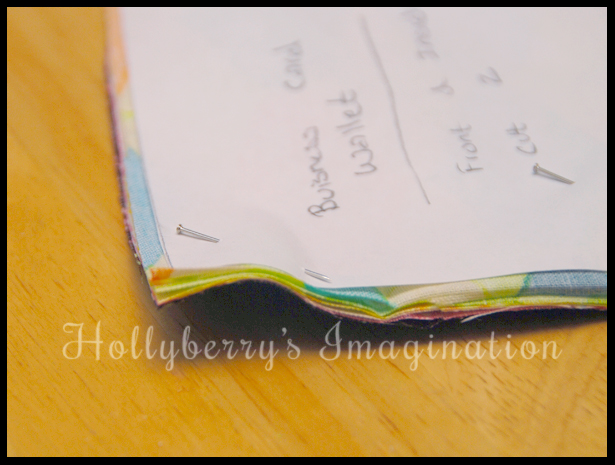
Now you want to place the interfacing beneath your inside fabric and then place the fabric for the outside, face down on top. Pin everything together. Make an “X” using pins in the middle of one of the long sides. Do not sew this area together, it will be used to turn everything right side out. Before you sew it up, choose an elastic and slide it in between your pocket on one side and the outside fabric. Pin it in well so it will stay when sewing up the edges.
Sew around the edge, leaving out the area you made an “X”. I went over the side with the elastic about 3 times to help keep the elastic in place.
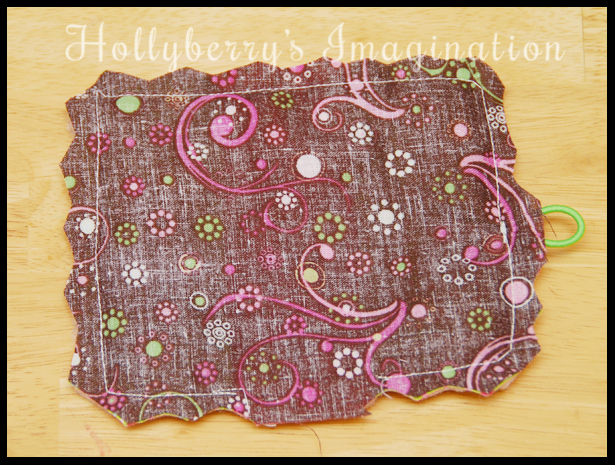
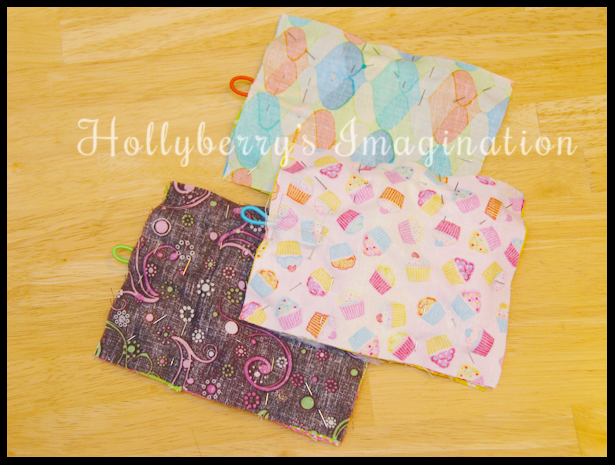
Now using pinking shears (or simply making a zig-zag pattern with regular sewing scissors) cut around the edges leaving the place where you made an “X” as is. Then turn everything right side out!
Hand sew the opening closed now, and iron your wallet nice and flat.
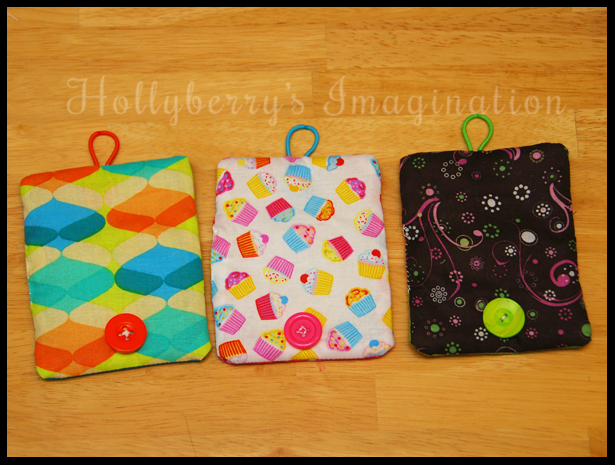
Sew on a button to the front side of the wallet, opposite the elastic.
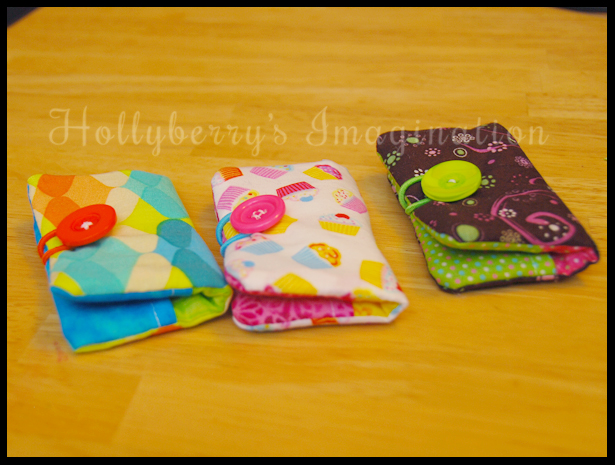
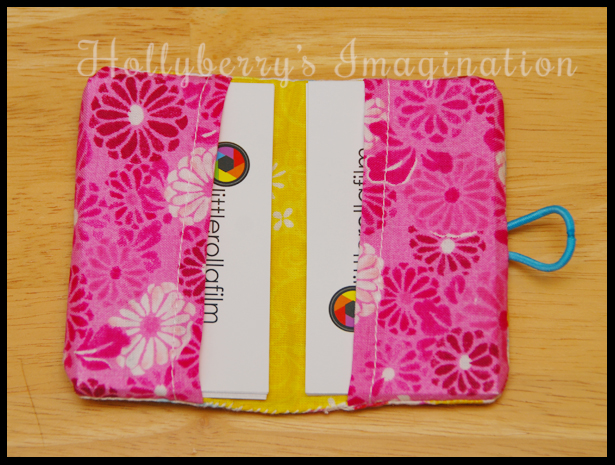
There you have it! A nice little wallet to hold any sort of business cards, store cards, gift cards, etc. You could also use it as “wrapping” for a gift card you are giving away as a gift!
-Holly


