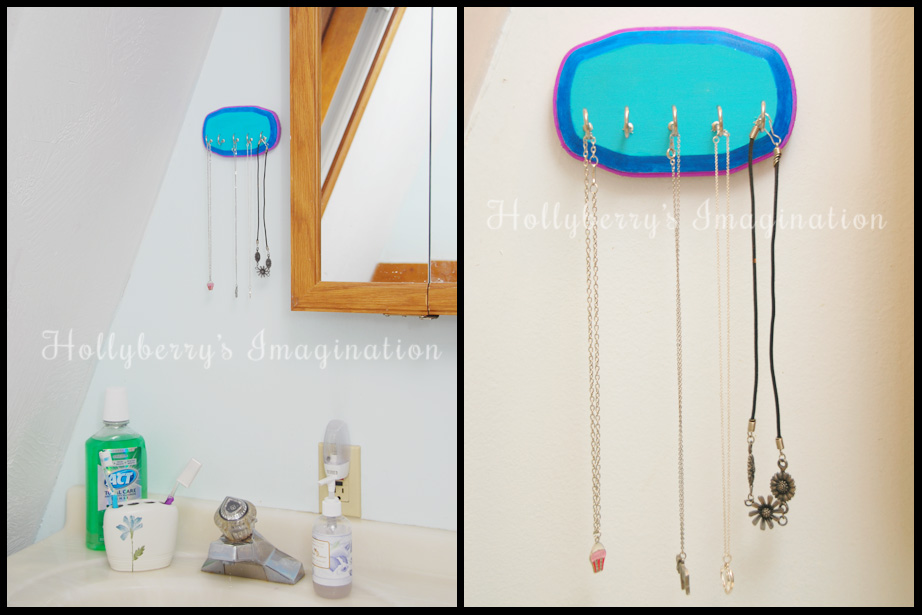
I have been looking for some sort of solution for keeping my necklace’s from getting tangled every time I take them off. I don’t wear them often, but every time I do it seems I have to spend 20 minutes untangling it first. So I came up with the solution of using small cup hooks and making my own rack. While I was at it I decided to update the key rack in our apartment. (Previously a few command hooks by the door, now a cute and colorful rack!)
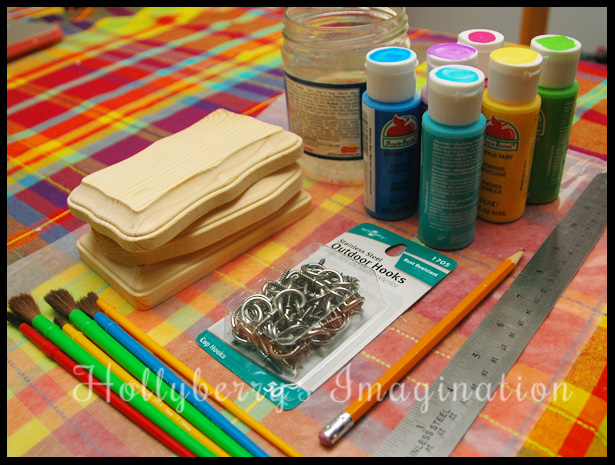
Supplies: Some small pieces of wood or wood plaques from the craft store, acrylic paint, paint brushes, small screw in cup hooks, a ruler, a pencil, and some picture hanging command adhesive.
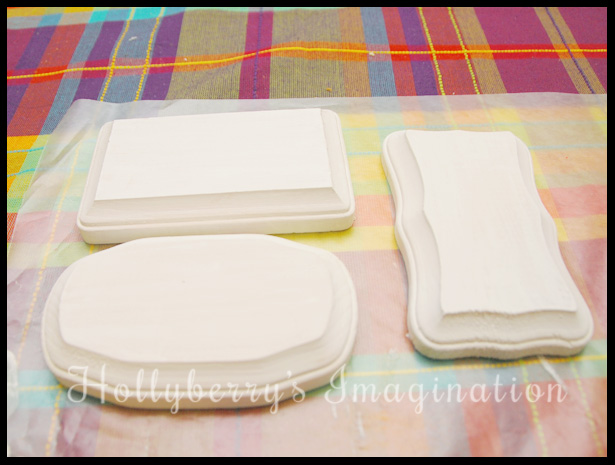
I started by painting all my wood plaques white to prime them. I wanted the bright colors to really pop and to use the least amount of coats of paint.

I then began to paint the face of them. I used 1-2 coats depending on the color. I wanted to ad more colors to the edges, but if you like this look of white edges you could stop here too!
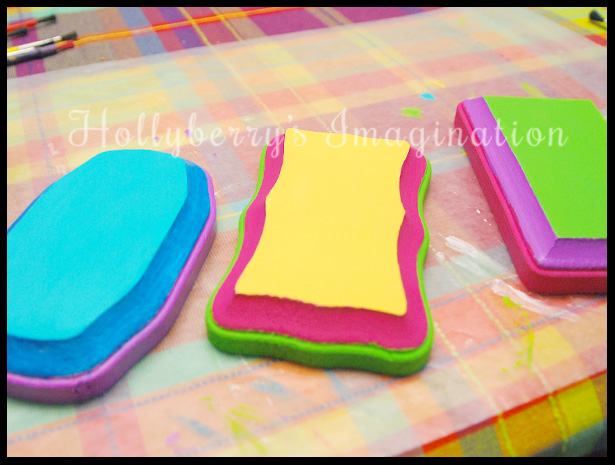
This is how mine looked as I added multiple colors to the sides.
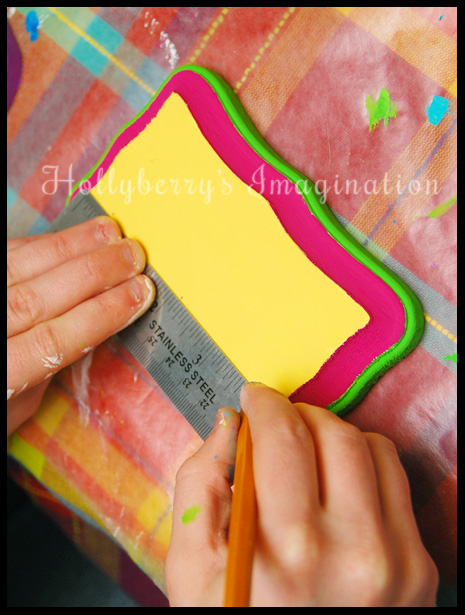
Once everything is dry you are ready to get some hooks on them! First decided how many hooks you want on each rack. For my key racks I used 3 and the for the necklace rack I used 5 since they are much smaller objects. Using a ruler and pencil I marked out evenly where I wanted the hooks to be.
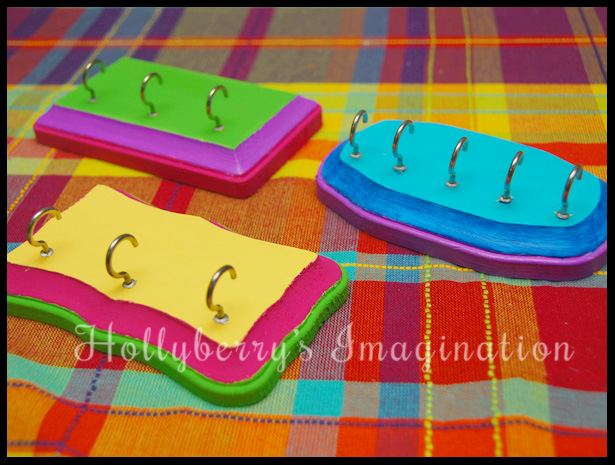
The hooks will screw into most wood very easily right over your pencil marks, and then you will have a finished little rack!
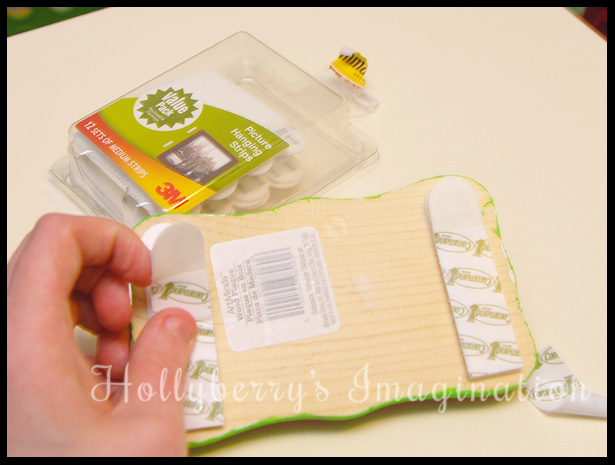
To hang your rack on a wall you could drill a hole for it to sit on a nail or picture holder. Living in an apartment I wanted a solution that won’t hurt the walls and still is easy and looks great. So I used the picture hanging command adhesive (the kind that has Velcro basically.) The reason I choose this kind is because I wanted it to be stronger in order to hold keys and to hide completely behind the rack. Normal command adhesive needs a small piece of it showing in order to properly remove it later. This stronger kind can completely hind though because of how it uses Velcro to attach to your objects! In my picture you can sort of see how I essentially used 4 medium command adhesives and 2 sets of Velcro strips (they come with the adhesive.)
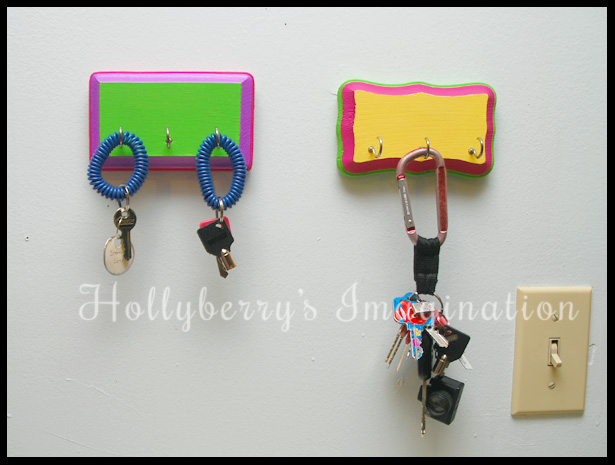
And there you have it! Some cute and colorful racks for keys, necklaces or other small objects!
-Holly
Love this! Okay- I have a task for you- some creative way to hold my stud and hanging earrings. I have thought about just buying some fine mesh and sticking it somewhere because all of the “earring holders” I find are skull and crossbones or for 5 year olds. Ha ha. Mesh tacked up on a wall isn’t very cute. Any insight or ideas appreciated! :-)~Katie
Yes, I have this same problem! I have also been looking for a solution to earrings. So far I have not found anything though. I will surely share if I do!