Woodchip Bugs!

woodbugs09

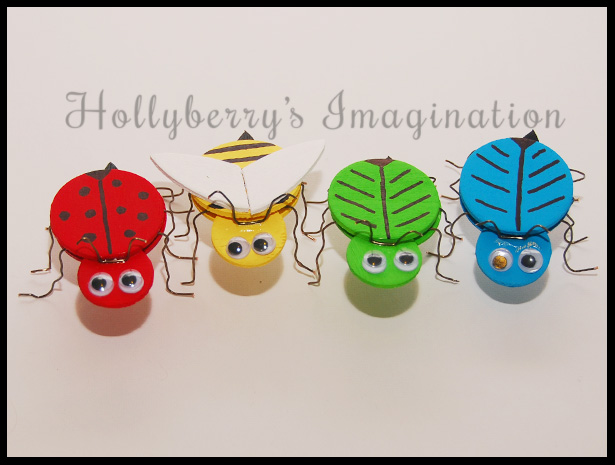
It’s spring! At least, it’s trying to be. Today is not working out to well weather-wise here in New England. As the warmer weather does start to come around, so do the bugs! These bugs however, are the kind that don’t bite and you might even invite to a picnic. They are very simple to make and so darn cute!

Supplies: Wood chip pieces from a craft store (you will need different size circles and teardrop shapes),  some wire (18-22 gauge seems like it works best), Pliers (the kind that will cut the wire too), Acrylic paint, Paint brushes, a black Permanent marker, Googly eyes, and some glue!

woodbugs01

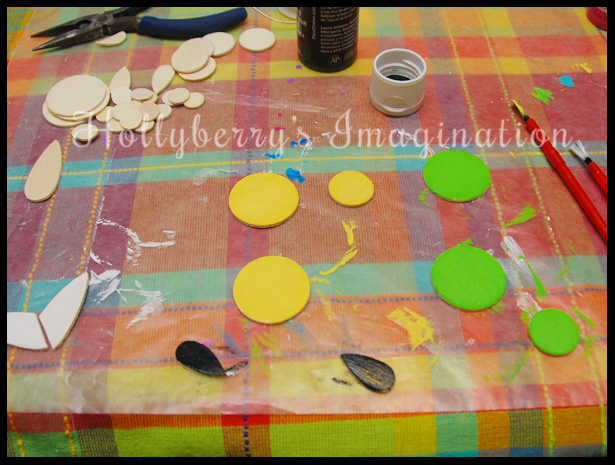
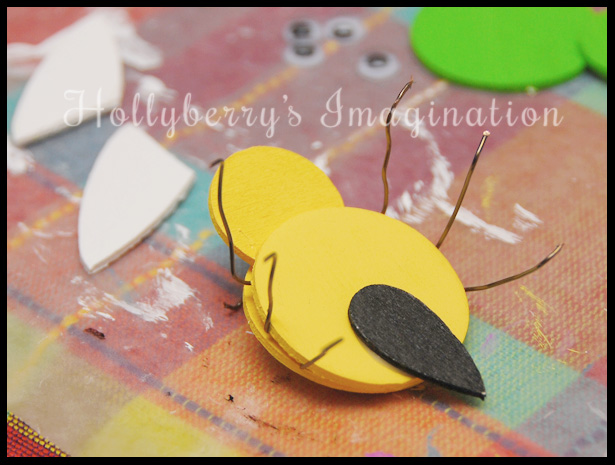
Pick out the pieces you need for whichever bug you choose to make. Actual size of these shapes doesn’t really matter. The large ones I used for the bodies were about 1 1/4″. For the bee’s wings I clipped a corner of a teardrop shape so it looked a little more wing-like. Then start painting them whatever color you want your bug! I recommend 10 minutes of drying time before painting the opposite sides so they don’t stick to anything. Also, I found that two coats looked far better then just one.

woodbugs02

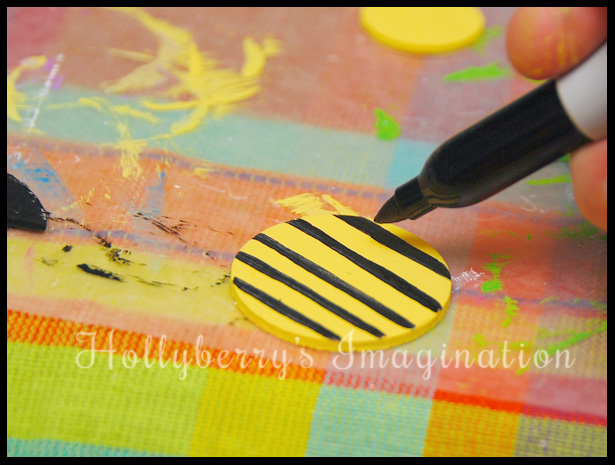
Once your top piece of your bug is completely dry, use a black permanent marker to draw a design on its back. For the bee I made stripes and the ladybug I made dots.

woodbugs03

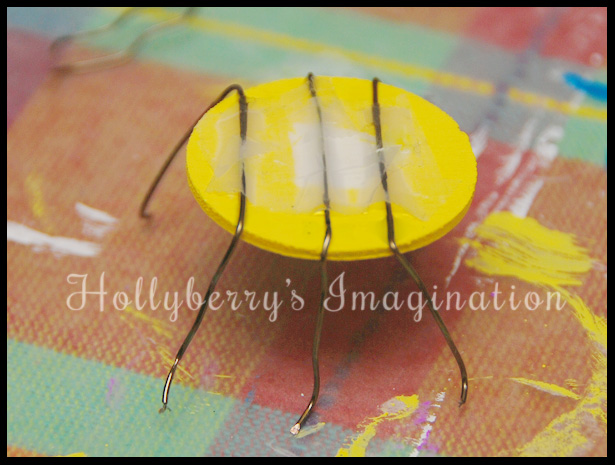
Next, I start putting the bug together. I found this part to be rather tricky. I cut out 3 pieces of wire to sit over the bottom side of the body for the legs. (Note: I used 18 gauge wire, be careful not to just buy any wire. You want one that is easy to bend, but stiff enough to hold up your bug)  I wanted to just glue them all on, but that really didn’t work out so well… or at all for that matter. So instead I used a little tape to hold them all on before I could get the glue on. (another option could be a hot glue gun if you are not involving kids in this project.)

woodbugs04

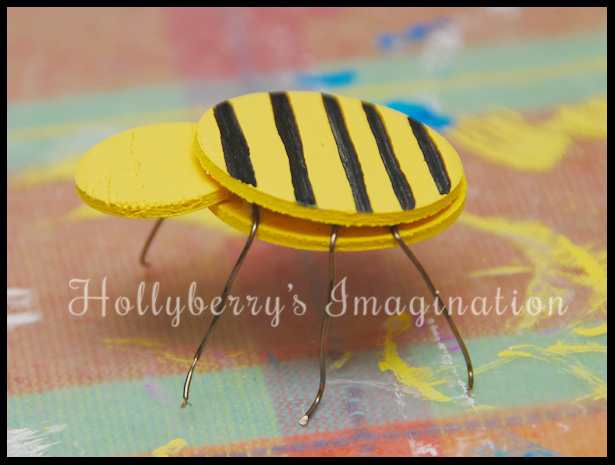
Then I put plenty of glue on his back and put his head and then his back top piece on. I did end up needing some clamps (clothespins, or something similar) to hold some of them together while they dried. Once they were dry, they were standing up pretty good!

woodbugs05

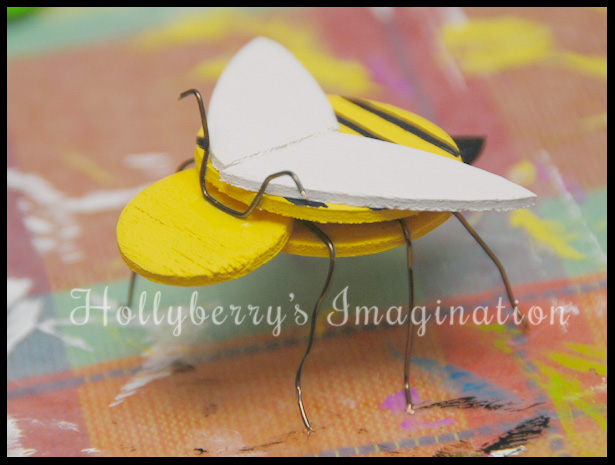
Now you want to flip your bug over to glue his tail on. Let it dry and then help him back on his feet!

woodbugs06

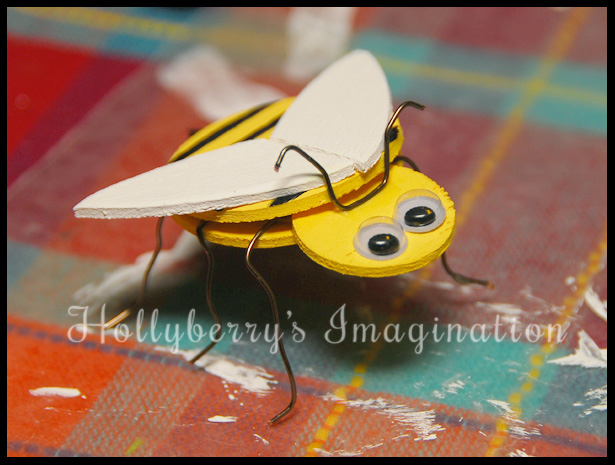
Glue his wings on his back right behind his head. Also make some him an antenna out of wire and glue it on. I used super glue, because that is the only thing that seemed to work for that part. Regular craft glue proved to be too slippery and dry too slow and I didn’t want a large blob of hot glue on his head.

woodbugs07

Finally give him some cute little googly eyes!

woodbugs08

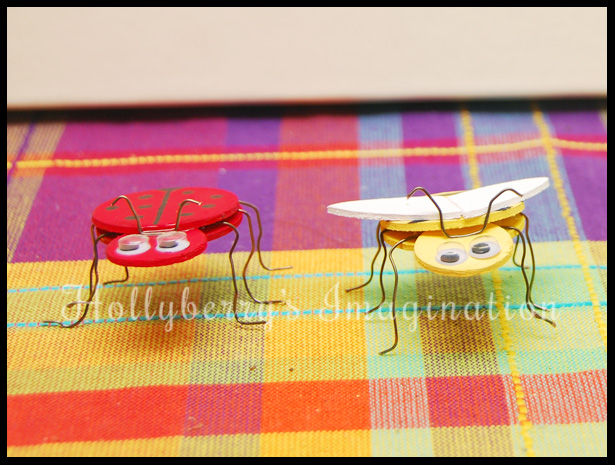
My finished bugs are about 1″ off the ground and 1 1/2″-2″ wide.

woodbugs09

These would be great projects to make with kids, give away as little gifts or even party favors!

Please feel free to share any bugs you create with wood chips, I would love to see them!

-Holly


Glass Gem Magnets

glassgems01

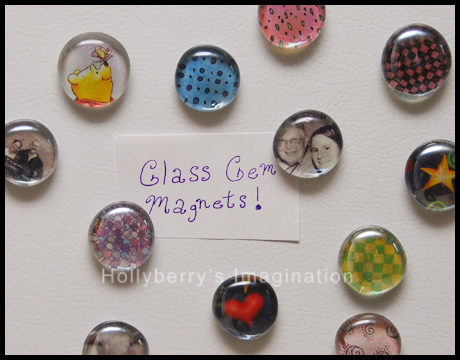
You know those glass gems they sell in bags at craft stores (even the dollar store, where I found mine). They come in all sorts of colors and look neat, but I never know what to do with them other then use them in a bottom of a vase or fishbowl. In high school I painted the backs of the clear ones and used them as cool looking tacks for hanging pictures/posters, but after a short while the paint would peal and the tacks would fall off. I was sort of sad because they did look really neat so when I saw the bigger sized ones at the dollar store I had a great idea. I figured these would be big enough to see pictures through if I printed them small enough. So I set to work coming up with some ideas.

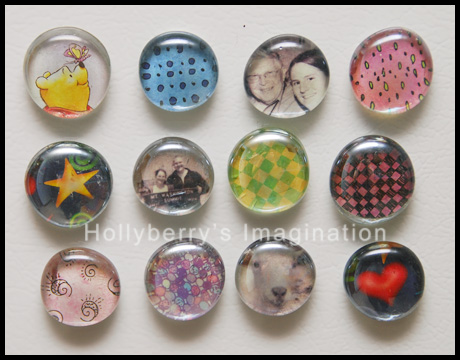
This is what I came up with!

glassgems02

Glass Gem Magnets

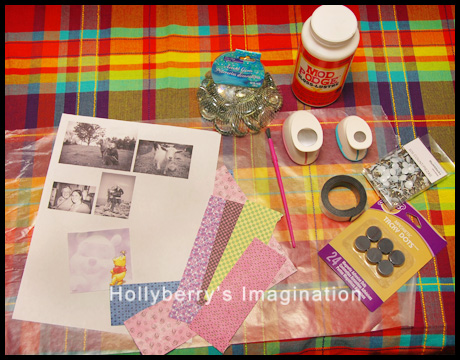
Supplies: larger glass gems with one side flat (just over an inch in diameter), small pictures printed on regular paper or some pretty scrapbook paper, circle punch (or scissors), magnets (you could try tacks on smaller gems), super glue (optional), modge podge, and a small paint brush.

glassgems03

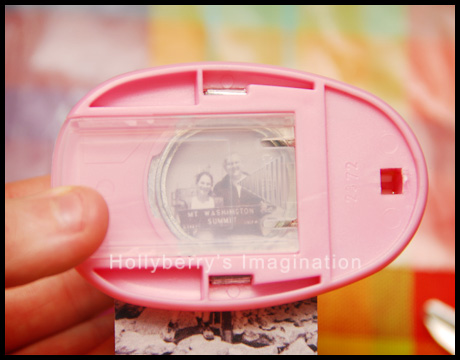
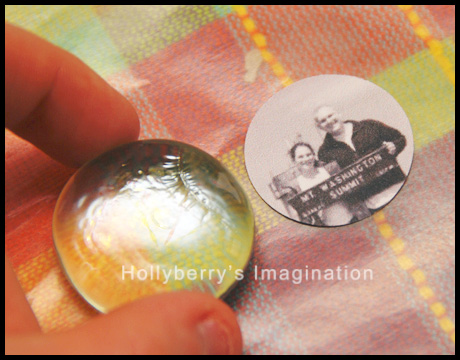
The punch I used was for a 1″ circle which fit perfectly on my gems flat sides. I flipped the punch over so I could choose where the picture or design would cut. If you don’t have a punch, simply trace out your gem on the paper and cut it out slightly smaller.

glassgems04

Be careful with the gems that have scratches or cracks on them. Test them over your pictures first to see if it will show up at all. I found cracks like the one above were very noticeable. Luckily there were only a few like that, so i just set them aside.

glassgems05

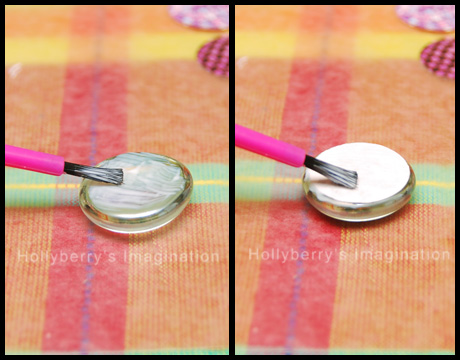
Once all your pictures or designs are all punched (or cut) out, it is time to get out the modge podge! First I painted a little on the gem’s flat side and then carefully placed the pictures face down on it. Smooth it out a little so there are no wrinkles or bubbles. Then for a little extra security I painted some more modge podge over the back of the pictures going slightly over the edges. Let them dry for about 15 minutes or so.

glassgems06

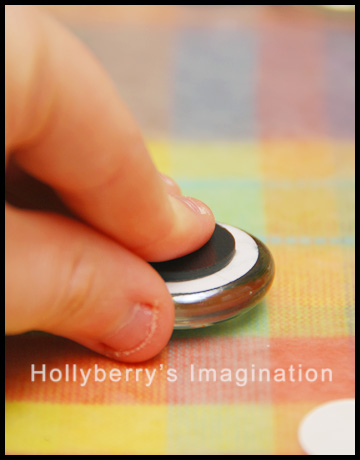
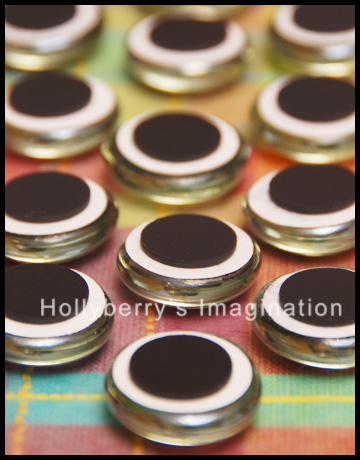
To adhere the magnets I used super glue.  The magnets were the kind with adhesive on the back, but again I like to make sure everything is secure and not going to fall off in a few days. So hold a little pressure on each magnet for about 30 seconds.

glassgems07

Even though they dry fast I like to let sit for a few minutes before testing them out on the fridge.

glassgems08

That’s it! You now have a cute little collection of magnets to give away as gifts, or display masterpieces of the fridge!

-Holly

Enhanced by Zemanta

Shadow Box Tutorial

000

I have a tendency to save lots of memorabilia from any trip I take. Usually I use most of it in a scrapbook, but I wanted to try something a little different. I have always wanted to make a shadow box of a trip or special memory.

On my last trip to New York City this past May to see the musical Newsies on Broadway, I took a panoramic photograph of Central Park and the city skyline behind it. I decided to use this trip and photo as my inspiration for my first shadow box!

CentralPark-2012-sm

First you want to gather up a bunch of things related to the trip or memory for you box and decide on what size shadow box to purchase. Since my photograph was 5″x15″ I decided on a shadow box that was roughly 11″x19″ (not to mention it was on clearance!) After gathering up all my memorabilia and photos from the trip I edited it down to the things I most wanted to include and a few scrap booking embellishments to add a little decoration.

002

To start off I made a background out of some newspaper clippings to go along with the musical we were there to see. Then I glued my panoramic photo onto some scrapbook card stock to protect it. Photos can be ruined by acid in many products and therefore should only be touching acid-free items. Almost all items made for scrapbooking that you find at craft stores are acid-free and will be labeled so on the packages.

003

After placing my main image in the box I then arranged all my other items throughout the box, changing it around a few times before deciding on a layout. I wanted it to reflect my specific trip and not just NYC, so I stayed away from elements like the Statue of Liberty and the Empire State Building and focused on the Broadway show Newsies. To save room and add interest I cut some of the images, so more of the panoramic could show through the background.

004

You don’t want the box to become far too busy to look at, but you also want to add plenty of memories and decorative elements. Its a balancing act, so take your time and play with all your options before making final decisions. I ended up editing out things like the Broadway tickets because they were large and had fine print so it would be hard to tell what they even were hanging on a wall. The metro card however,  added a nice graphic element while being very easy to decipher.

005

Once I decided on a layout I took some flat thumb tacks and secured everything down. many of my thumb tacks are hidden behind items to keep it more clean looking. I came to the conclusion that the key to a successful shadow box is to have plenty to choose from between memorabilia, photos, & embellishments, as well as taking plenty of time to edit it down. Many items I was sure I wanted to include ended up not being included at all because they were either taking away from my theme, were the wrong size, or made it far too busy.

001

When you are finished, hang it up on the wall or give it away as a gift! Making a shadow box of a wedding, birthday party, or in memory of a loved one would make awesome gifts!

000

Please comment any of your own ideas!

-Holly


Enhanced by Zemanta

Clothespin Magnets

My Co-worker was looking through her desk drawer and found a clothespin. After a few minutes of us trying to figure out how it could have gotten there, she decided she wanted it to be a magnet. I happen to know that she loves the color purple so I told her I could paint it purple for her and find a magnet. Well, she also has a love of unicorns and therefore decided if I went to the trouble of painting it, I might as well draw a unicorn face on it. Thus, 5 new clothes pin magnets were created.


Supplies:

Clothespins, acrylic paints, paint brushes, puffy paint (usually used for fabric), newspaper (disposable table covering), magnetic tape, super glue, small clamps (I like to use small binder clips, cheaper and very effective)

Gather all your supplies and cover your workspace with newspaper or some other disposable cover that will protect it from any stray paint. To keep my paint brushes from drying out and easier to clean I also like to keep a jar of water on the table.

Paint your clothes pins with 2 coats of an acrylic paint of your choice. Allow at least 10-15 minutes of drying time between coats. After second coat, allow to dry again at least 10-15 minutes.

Now using the puffy paints, create some designs on 1 side of the clip. Leave one side completely flat for the magnet to attach to later. Allow the puffy paint to dry for 30-60 minutes, or until it is dry to the touch. They should be close to completely dry or your designs will get smudged!

Here are my 5 designs drying. While they finish drying, get you magnet, glue & clamps ready. Cut the magnet to fit each of your clips. In my case the magnet was about 1″ wide so I cut 2 1/2 ” strips and cut those in half the long way to make two 1/2″ strips.

This type of magnet is suppose to be peel and stick, but seeing as these clips will be used to hold things I find that it is usually best to add some glue to them, just to be sure.

I dab a few small drops of glue over the strips of magnet.

I press my clothes pins firmly down on the magnet and hold it there for a minute or two.

Use some small clamps (or binder clips in my case) to hold the magnet in place while it continues to dry. Leave it to dry for 15-30 minutes.

And there you have it! I use these magnets of my fridge to be ready to hold notes, photos, or even to close a bag of chips! Also, they are great at work if you have any space in your office that could use some nice decorative magnets that are mighty handy to hold notes or documents!


Please comment and share!

-Holly